Timeless retro appetizer for holiday tables and mid-century gatherings
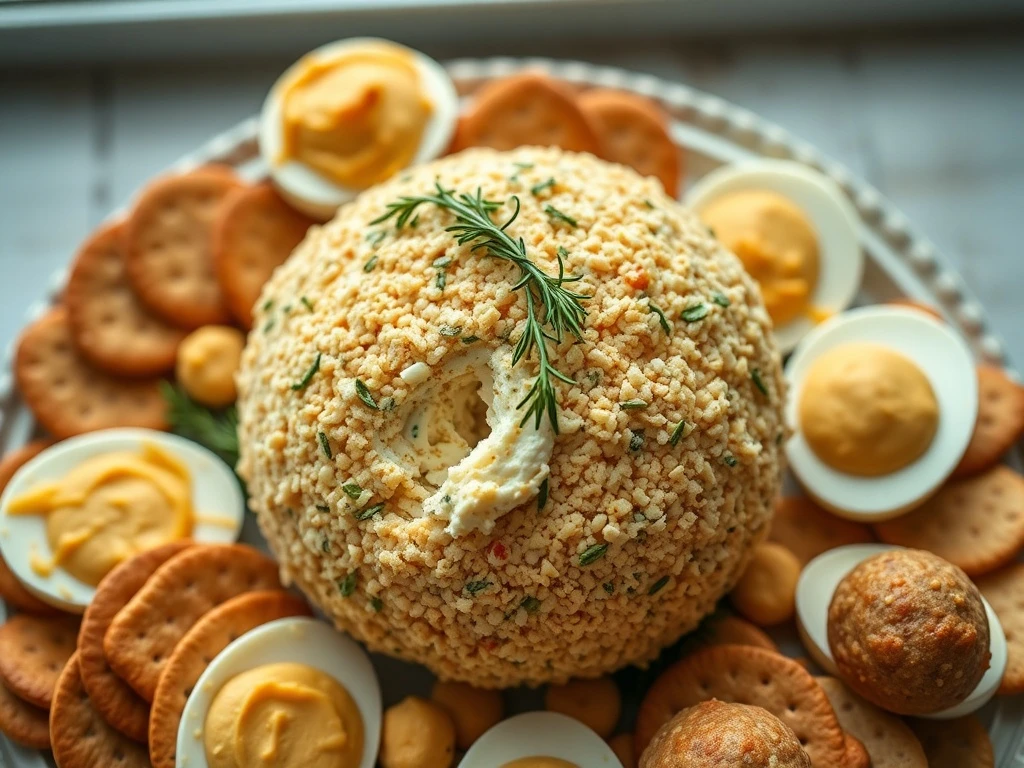
This vintage cheese ball recipe is your golden ticket to retro party success. With its crackery crust and rich cheddar center, it's the ultimate crowd-pleaser that screams '1950s elegance' while delivering modern convenience. The best part? It requires no cooking and can be made up to 48 hours in advance.
Whether you're hosting a Thanksgiving feast or a mid-century modern cocktail party, this cheese ball will anchor your spread with nostalgic charm. The combination of sharp cheddar, smooth cream cheese, and savory Worcestershire creates a flavor profile that's both comforting and sophisticated.
The vintage presentation - with its crushed cracker coating and fresh herb garnish - adds visual appeal while the no-cook preparation means less work for you. This is the perfect appetizer for anyone who wants to impress guests without spending hours in the kitchen.
From the way it's rolled into a perfect sphere to the retro garnishes, every detail of this recipe harkens back to the golden age of entertaining. Read on to discover the secrets behind this timeless classic.
Why This Recipe Works
⏰ Effortless Prep
No baking, no cooking - just mix, shape, and chill. Perfect for last-minute hosts or those who want to spend time with guests instead of in the kitchen.
💰 Budget-Friendly
Uses common pantry staples like cream cheese and crackers to create a luxurious presentation at a fraction of the cost.
👥 Crowd-Pleasing
Serves 12-15 people, making it ideal for large gatherings while maintaining a premium feel.
🌟 Nostalgic Appeal
The vintage presentation and retro flavors evoke warm memories of mid-century entertaining traditions.
Ingredient Notes & Substitutions
Cream Cheese
Provides the creamy base that binds the cheese ball. For a tangier flavor, use full-fat cream cheese.
Substitutions: Mascarpone or Greek yogurt for a lighter option.
Cheddar Cheese
Sharp cheddar adds bold flavor. Use extra sharp for more intensity.
Substitutions: Gouda or Colby-Jack for different flavor profiles.
Saltine Crackers
Create the classic vintage crust. Crush them finely for even coating.
Substitutions: Panko breadcrumbs or crushed potato chips for different textures.
Worcestershire Sauce
Adds umami depth. Use gluten-free if needed.
Substitutions: Soy sauce or liquid smoke for similar flavor.
Pro Tips for Perfect Cheese Ball
🧂 Flavor Enhancements
Add 1/2 tsp garlic powder or 1 tbsp finely chopped green onions for extra depth.
🪵 Presentation
Use a cheese knife to slice into portions. Serve on a vintage wooden board for maximum retro appeal.
❄️ Chilling Tips
Chill for at least 2 hours to firm up the mixture before coating with crackers.
🌿 Garnishing
Use fresh rosemary sprigs and parsley for a vibrant, rustic look. Add a few drops of olive oil to keep herbs fresh.
Variations & Customizations
Herb-Infused Version
Mix in 1 tbsp chopped fresh herbs like dill or thyme into the cheese mixture for extra flavor.
Spicy Kick
Add 1/2 tsp cayenne pepper or a dash of hot sauce for a spicy twist.
Citrus Zest
Fold in 1 tbsp grated lemon or orange zest for a fresh, tangy flavor.
Vegan Option
Use vegan cream cheese and nutritional yeast instead of regular cheddar.
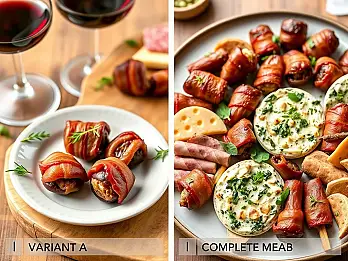
Serving Suggestions & Pairings
🍽️ Best Served With:
- Retro deviled eggs with a mustard-golden yolk
- Pimento cheese dip in a vintage bowl
- Mini sausage balls on a white ceramic platter
- Assorted crackers and pretzels for dipping
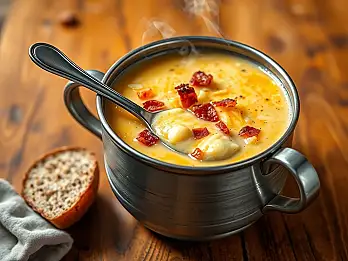
🍷 Drink Pairings:
Pair with a crisp white wine like Chardonnay or a classic Old Fashioned cocktail. For non-alcoholic options, try ginger ale with a splash of lime.
Make-Ahead Instructions & Storage
Make-Ahead Tips
Assemble the cheese ball up to 48 hours in advance. Store in an airtight container in the refrigerator.
Refrigerator Storage
Keep covered in the fridge for up to 5 days. The coating may soften slightly over time.
Freezer Storage
Freeze for up to 2 months. Thaw in the refrigerator overnight before serving.
Reheating Instructions
This appetizer is best served cold. If warming is necessary, place in a preheated 300°F oven for 5-7 minutes.
Troubleshooting & Common Questions
Q: Why is my cheese ball cracking?
A: Over-chilling can cause dryness. Let it sit at room temperature for 15-20 minutes before serving.
Q: How to fix a runny mixture?
A: Chill for an additional hour to firm up. Add 1-2 tbsp grated Parmesan to thicken.
Q: Can I make it ahead?
A: Yes! Assemble up to 2 days in advance. Store in an airtight container in the fridge.
Q: How to prevent the coating from falling off?
A: Ensure the cheese ball is fully chilled before rolling in crackers. Press gently to adhere.
Final Thoughts
This vintage cheese ball is more than just an appetizer - it's a nostalgic journey to the golden age of entertaining. With its rich flavors and elegant presentation, it's sure to become a holiday tradition that keeps guests coming back for more.
Whether you're hosting a Thanksgiving dinner or a retro-themed cocktail party, this cheese ball will anchor your spread with timeless charm. The best part? It's incredibly easy to make yet looks like it came from a five-star restaurant. Give it a try and discover why this classic has stood the test of time.