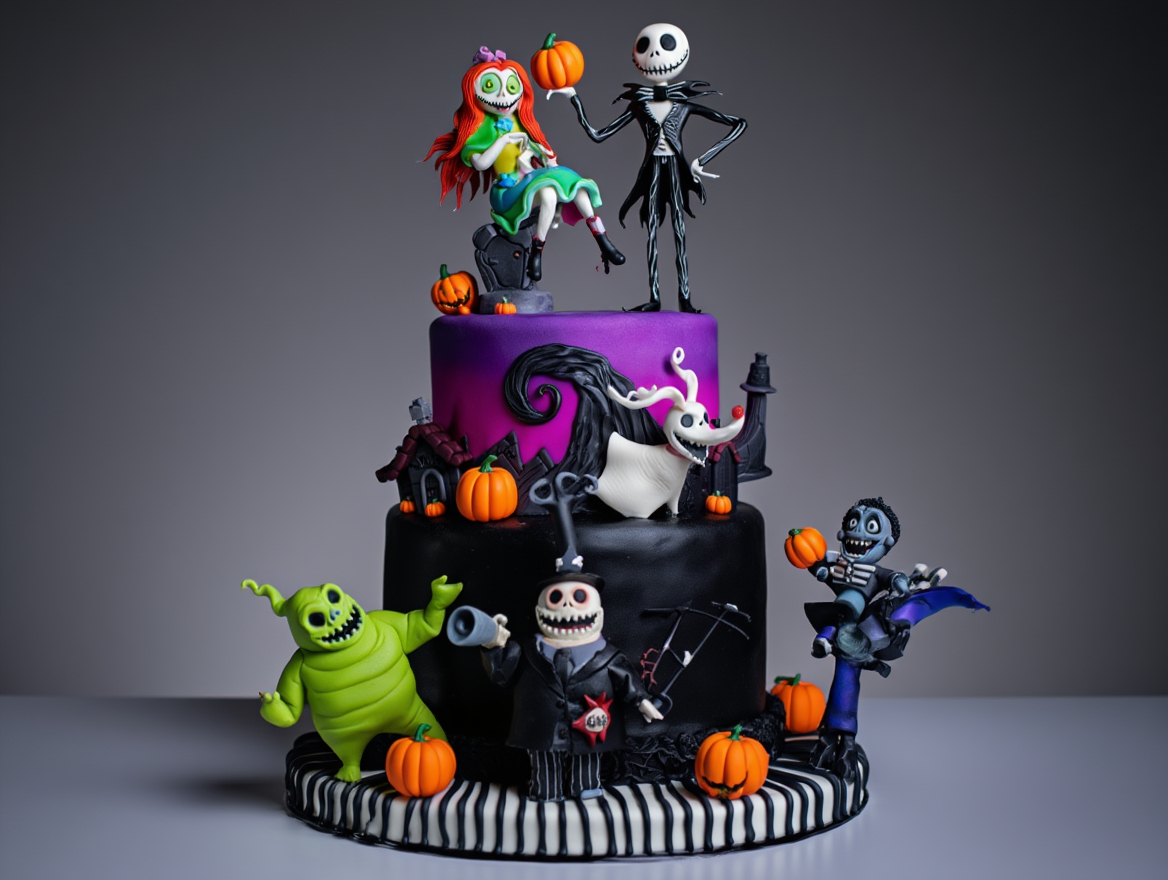
There’s something magical about a cake that tells a story through its design. The festive whimsical multi-tiered cake isn’t just a dessert—it’s a centerpiece of holiday joy. With its sculpted fondant characters, swirling buttercream patterns, and playful color palette, this cake transforms any celebration into a whimsical wonderland. Whether it’s Christmas, a winter party, or a family gathering, this creation is guaranteed to spark conversations and camera clicks. But don’t let its artistry fool you—this cake is surprisingly easy to make with step-by-step guidance and a few clever baking hacks.
The best part? You don’t need a professional bakery to achieve this look. With simple ingredients like flour, butter, and fondant, plus a bit of creativity, you can craft a cake that feels custom-made for your holiday theme. Let’s dive into what makes this recipe a holiday favorite.
Why This Festive Whimsical Multi-Tiered Cake Works
This cake is more than just a pretty face. Its design combines functionality and aesthetics in ways that make it perfect for holiday events:
- The three-tier structure allows for generous servings without overwhelming guests.
- The sculpted fondant characters add a playful, interactive element that kids and adults love.
- The purple-black-white swirls create a modern, elegant contrast that works for both traditional and contemporary holiday decor.
- The striped base adds visual interest while keeping the design cohesive and balanced.
What truly sets this cake apart is its adaptability. You can customize the characters to match your holiday theme—think snowmen, reindeer, or even whimsical fairies. The buttercream layers provide a rich, moist texture that pairs perfectly with the delicate fondant details.
Essential Tools for Success
Before diving into the recipe, let’s talk about the tools that will make your baking journey smoother:
- Stand mixer with paddle and whisk attachments
- Offset spatula for smooth buttercream application
- Piping bags with star tips (I recommend Wilton 1M and 12)
- Fondant modeling tools for sculpting characters
- Cake turntable for even frosting
- Silicone baking mats or parchment paper
Investing in quality tools pays off—especially when you’re working with delicate fondant and intricate designs. For example, a stand mixer with a paddle attachment makes creaming the butter and sugar effortless, while a turntable ensures your cake layers are perfectly aligned.
Step-by-Step Baking Journey
This cake is a labor of love, but the process is rewarding. Here’s how to tackle it step by step:
1. Preparing the Cake Layers
Start by preheating your oven to 350°F. The key to perfect layers is ensuring your butter is softened but not melted. If your kitchen is chilly, let the butter sit out for 30 minutes. Once softened, cream it with sugar until light and fluffy. This takes about 3-4 minutes in a stand mixer.
Next, add the eggs one at a time, mixing well after each addition. The mixture will thicken and become pale yellow. This emulsification step is crucial for a tender crumb. If you skip it, your cake might turn out dense.
2. Building the Buttercream
The buttercream is what gives this cake its rich, velvety texture. Start by beating room-temperature butter until smooth. Gradually add powdered sugar, then mix in heavy cream and corn syrup. This combination creates a stable, glossy frosting that holds its shape when piped.
Divide the frosting into three bowls and tint them with purple, black, and white food coloring. The purple-black-white swirls are what make the cake visually stunning. For best results, use gel food coloring—liquids can alter the consistency.
3. Sculpting the Characters
Now comes the fun part! Knead the fondant until pliable. Use modeling tools to shape whimsical characters like snowmen, reindeer, or even a festive cupcake monster. Brush each sculpture with corn syrup and dust with edible gold luster for a sparkling effect.
Attach the sculptures to the cake tiers using small dabs of buttercream. For extra stability, let them set for 15 minutes before adding additional decorations. This step is where your creativity shines—don’t be afraid to experiment with different shapes and colors!
4. Assembling the Cake
Begin by placing the first cake layer on a turntable. Spread a thin layer of purple buttercream for a crumb coat. Repeat with the second layer and black buttercream, then top with the third layer and white buttercream. Use an offset spatula to create a smooth finish.
For the striped base, cut fondant strips into alternating black and white patterns. Attach them to a cake board using a small amount of water. The stripes add a clean, modern contrast to the playful characters above.
Creative Variations to Try
While the recipe is perfect as written, here are a few ways to put your own spin on it:
- Replace the purple-black-white swirls with a rainbow gradient for a more vibrant look.
- Use edible silver dust instead of gold for a winter wonderland theme.
- Incorporate holiday-themed characters like Santa, elves, or snowflakes.
- Add a caramel ribbon around the base for a touch of elegance.
For a gluten-free version, substitute the all-purpose flour with a 1:1 gluten-free flour blend. The texture might be slightly different, but the flavor remains unchanged. If you’re short on time, pre-made fondant can save hours of sculpting.
Serving Suggestions & Pairings
This festive whimsical multi-tiered cake is the star of the show, but pairing it with the right sides and drinks elevates the entire experience:
- Spiced apple pie – The warm cinnamon complements the cake’s richness.
- Mulled wine – A cozy, spiced drink that pairs perfectly with holiday desserts.
- Shortbread cookies – A classic holiday treat that balances the cake’s bold flavors.
- Vanilla ice cream – Adds a creamy contrast and makes the cake feel indulgent.
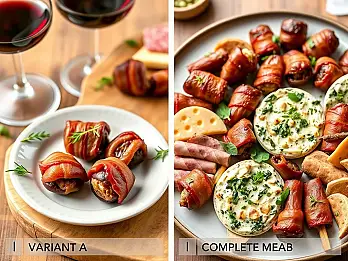
For a complete meal, serve the cake alongside roasted turkey, honey-glazed ham, or stuffed squash. These hearty dishes create a balanced holiday spread that’s both satisfying and festive.
Storage & Leftovers
This cake is best enjoyed within 24 hours of baking, but you can store it for longer:
- At room temperature: Cover with a cake dome and keep for up to 2 days.
- In the refrigerator: Store in an airtight container for 5 days. Let it come to room temperature before serving.
- Freezing: Wrap each tier in plastic wrap and freeze for up to 2 months. Thaw overnight in the refrigerator.
For the fondant characters, store them separately in a cool, dry place. They can last up to a week if kept away from moisture.
Final Thoughts on This Festive Whimsical Cake
The festive whimsical multi-tiered cake isn’t just a dessert—it’s an experience. From the moment you see the sculpted characters to the first bite of velvety buttercream, every detail is designed to delight. Whether you’re hosting a holiday party or simply want to add a touch of magic to your kitchen, this cake is a masterpiece worth creating.
For best Pinterest visibility, post this cake as part of a complete holiday meal series. Start with the main dish, followed by complementary sides like roasted vegetables or mashed potatoes, and finish with a dessert like spiced apple pie. This approach not only boosts engagement but also helps your audience recreate the full experience at home.
Now, grab your apron and let’s get baking. With a bit of patience and creativity, you’ll have a showstopping cake that’s sure to become a holiday tradition.