Create a magical holiday dessert table guests will remember!
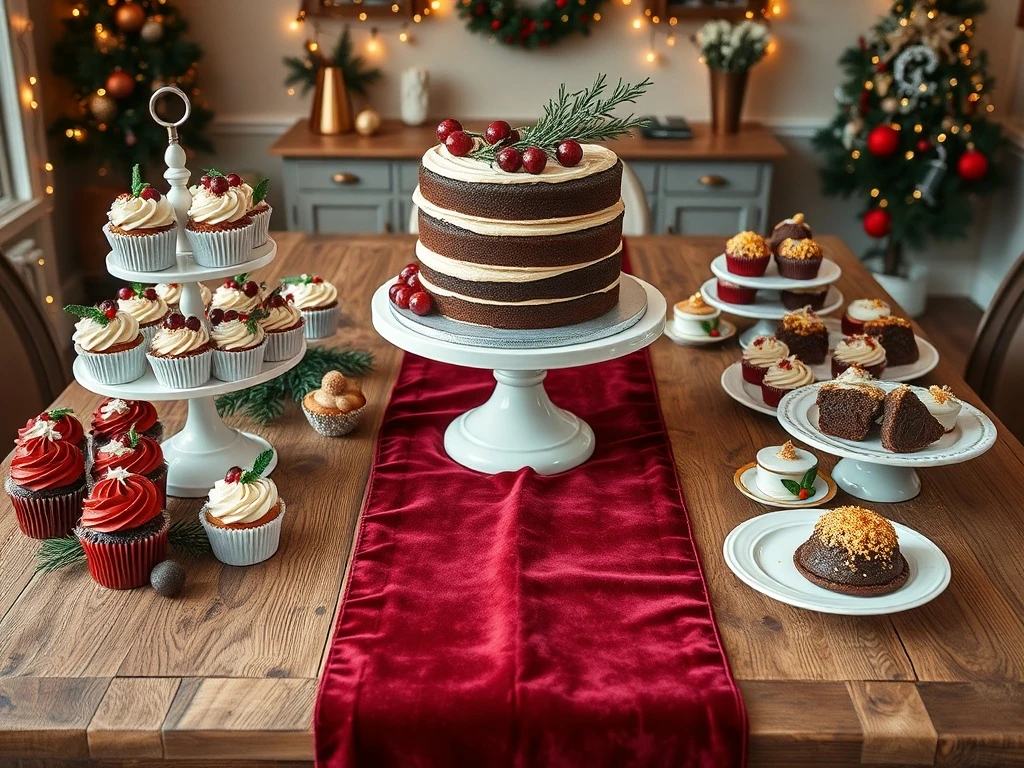
Transform your holiday gathering with this show-stopping Christmas food table display. This festive dessert buffet combines height, texture, and warm lighting to create a memorable centerpiece for any celebration.
Whether you're hosting a large family dinner or a cozy friends' gathering, this styling guide will help you create a visually stunning dessert table that guests will photograph and remember for years. The key elements include layered desserts, strategic lighting, and seasonal props that work together to create a magical atmosphere.
This guide includes practical tips for creating depth and visual interest through height variations, color coordination, and thoughtful placement of decorative elements. You'll learn how to arrange desserts in a way that showcases each item while maintaining a cohesive holiday theme.
From choosing the right table base to adding finishing touches like fairy lights, this article will walk you through every step of creating a professional-looking dessert display that's easy to assemble and perfect for any holiday occasion.
Let's dive into the essential components that will transform your dessert table into the highlight of your holiday gathering!
Why This Display Works
⏰ Time-Saving Setup
Create an impressive display with minimal effort using ready-to-use desserts and simple styling techniques.
💰 Budget-Friendly
Most materials can be reused year after year, and desserts can be homemade or store-bought.
👥 Guest-Friendly
Self-serve format with clear labeling makes it easy for guests to navigate the spread.
🌟 Instagram-Worthy
Professional styling techniques create a photogenic display that guests will want to share.
Styling Notes & Substitutions
Rustic Table Surface
The visible wood knots and grain patterns add natural texture. If you don't have a reclaimed wood table, use a faux wood tablecloth or a painted wooden table.
Substitution: Faux wood tablecloth or painted table
Burgundy Velvet Runner
This rich fabric adds depth and contrast. If velvet is unavailable, use a deep red tablecloth with a similar texture.
Substitution: Red felt or faux velvet tablecloth
Fairy Lights
Warm white fairy lights create a magical ambiance. Use battery-operated lights for safety and convenience.
Substitution: LED string lights
Cranberries & Rosemary
Fresh cranberries and rosemary sprigs add natural color and fragrance. Artificial versions work if you want them to last longer.
Substitution: Artificial cranberries or rosemary
Pro Styling Tips
💡 Layering Techniques
Create visual interest by layering desserts at different heights. Use cake stands, risers, or stacked serving dishes to add dimension.
💡 Color Coordination
Stick to a red-green-gold color scheme for a cohesive look. Use these colors in both desserts and decorative elements.
💡 Lighting Tips
Combine natural window light with warm overhead lighting. Add candlelight for a cozy glow.
💡 Labeling Ideas
Use chalkboard signs or handwritten paper labels to identify each dessert section. This helps guests navigate the display.
Customization Ideas
Mini Dessert Bar
Create a compact version with just 3-4 dessert types. Use smaller serving dishes and fewer decorative elements for intimate gatherings.
Theme Variations
Try different color schemes like silver-blue for a winter wonderland theme or pastel tones for a more modern look.
Interactive Elements
Add a self-serve topping station with options like whipped cream, sprinkles, and chocolate sauce for guests to customize their desserts.
DIY Station
Set up a cookie decorating station with pre-baked cookies, icing, and festive toppings for guests to create their own treats.
Serving Suggestions & Pairings
🍽️ Best With:
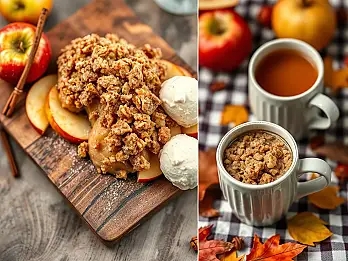
- Spiced apple cider with cinnamon sticks
- Red wine with cranberry glaze
- Mint chocolate chip ice cream for contrast
🍷 Drink Pairings:
Pair with hot cocoa with peppermint syrup or mulled wine for a festive combination.
Make-Ahead Tips & Storage
Prep Ahead
Prepare desserts up to 2 days in advance. Store in airtight containers at room temperature (except perishable items like fresh fruit).
Refrigerator Storage
Keep perishable items like cream cheese-based desserts refrigerated until serving time.
Freezer Tips
Bake desserts 3-5 days in advance and freeze. Thaw at room temperature for 2-3 hours before serving.
Reheating Instructions
Most desserts don't require reheating. If needed, use a warm oven (250°F) for 5-10 minutes.
Troubleshooting & FAQs
Q: How to prevent desserts from sliding on cake stands?
A: Use non-slip pads or small pieces of double-sided tape to secure items on cake stands.
Q: Can I use store-bought desserts?
A: Absolutely! This display works beautifully with store-bought desserts. Choose high-quality options for best results.
Q: How to keep desserts fresh during the event?
A: Keep perishable items refrigerated until serving time. Use airtight containers for non-perishable items.
Q: What if I don't have a large table?
A: Use multiple smaller tables or serving carts to create a cascading display. This works especially well in larger spaces.
Final Thoughts
This Christmas dessert table display combines beautiful styling with practical tips to create a magical holiday centerpiece. The combination of height variations, seasonal decorations, and strategic lighting will transform any dessert spread into an Instagram-worthy masterpiece.
Whether you're an experienced host or new to holiday entertaining, this guide provides all the tools you need to create a stunning dessert display that will impress your guests. With careful planning and attention to detail, you can create a holiday dessert table that becomes the highlight of your celebration year after year.