Fast 5-Ingredient Apple Crisp in a Cast-Iron Skillet 🍎🔥 – Rustic Charm & Quick Fall Dessert
A cozy, caramelized apple crisp made in a cast-iron skillet with just 5 ingredients. Ready in 25 minutes!
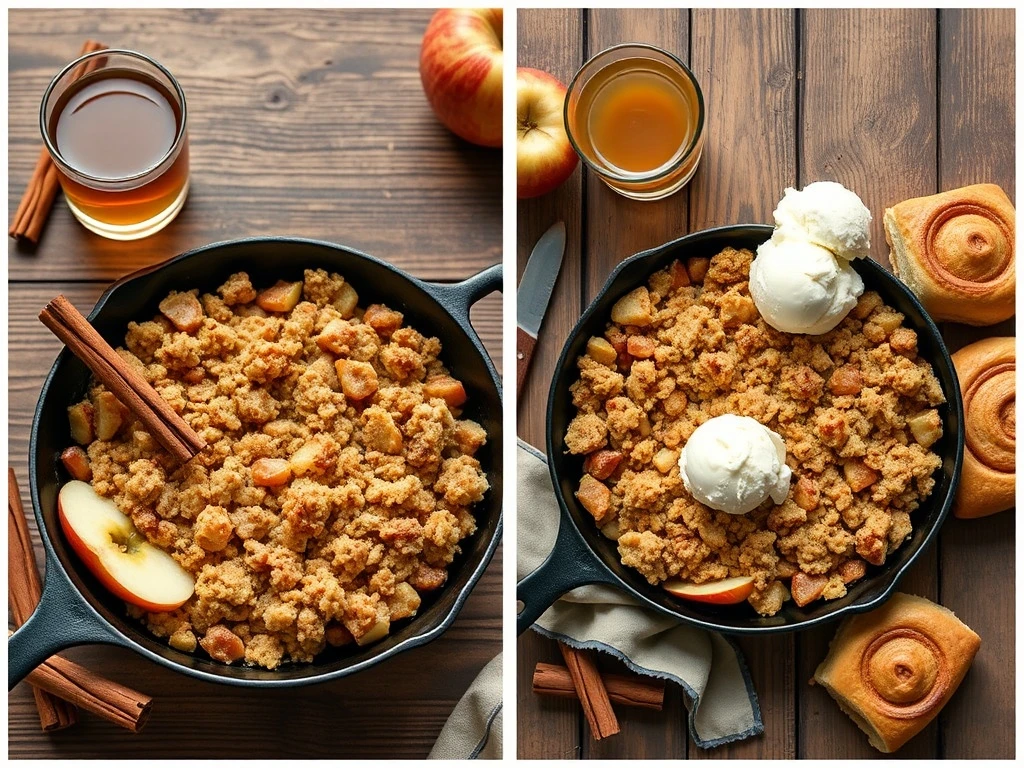
This 5-ingredient apple crisp is a fall dessert masterpiece that combines rustic charm with kitchen efficiency. Using just apples, oats, butter, brown sugar, and cinnamon, this cast-iron skillet recipe delivers a golden, crunchy topping and tender apple filling in under 25 minutes. Perfect for family dinners or cozy gatherings, the skillet’s heat retention ensures even caramelization and a perfectly baked crust.
Imagine a warm, bubbling apple crisp straight from the oven, its cinnamon-scented aroma filling your kitchen. With minimal effort and pantry staples, you’ll create a dessert that looks like it came from a bakery. The cast-iron skillet not only simplifies cleanup but also enhances flavor through even heat distribution, making it ideal for this fall favorite.
Whether you’re hosting a dinner party or craving a comforting treat, this recipe adapts to any occasion. The rustic presentation in the skillet means you can serve it directly at the table, sharing the joy of homemade dessert with minimal fuss.
What makes this apple crisp special? The magic lies in the simplicity. No exotic ingredients or complicated techniques—just wholesome, quality results. The oats create a hearty, buttery topping that contrasts beautifully with the tender apple filling. And the best part? It’s ready in time for your favorite fall beverage.
Let’s dive into why this recipe will become your new autumn tradition.
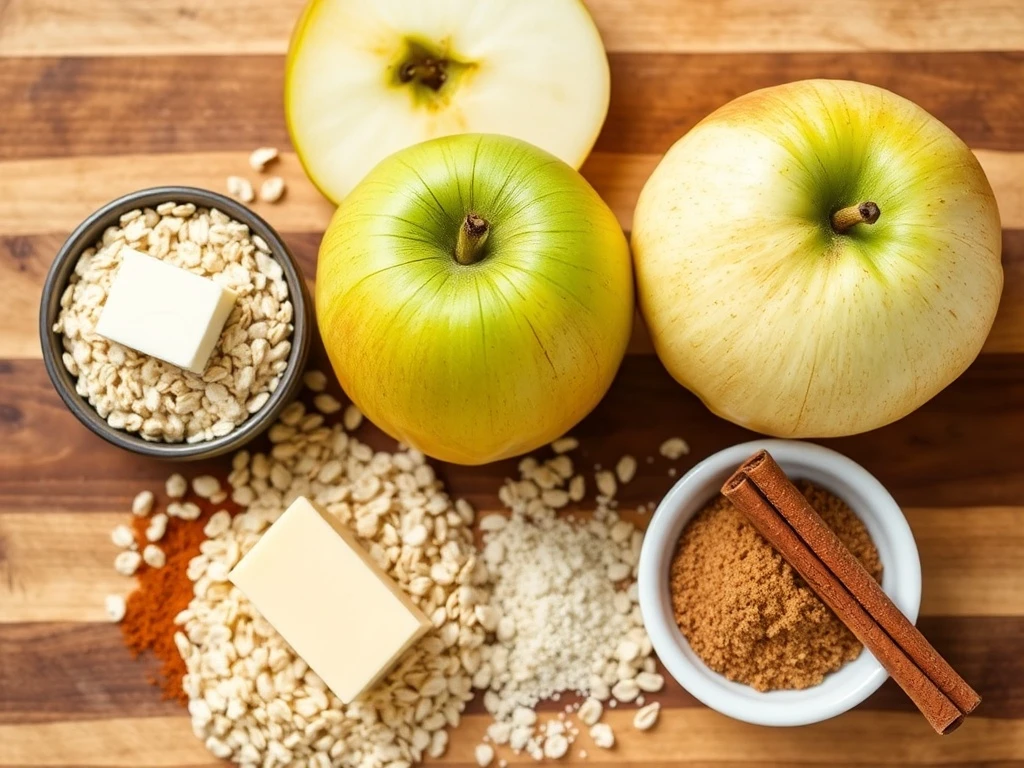
Ingredients
- 6 medium Granny Smith apples (or Honeycrisp), peeled and sliced
- 1 cup old-fashioned rolled oats
- 1/2 cup unsalted butter, melted
- 1/2 cup packed brown sugar
- 1 tablespoon ground cinnamon
Instructions
- Step 1: Preheat oven to 375°F (190°C). Place the cast-iron skillet in the oven to preheat while you prepare the filling. TIP: A preheated skillet ensures the apples start cooking immediately, preventing sogginess.
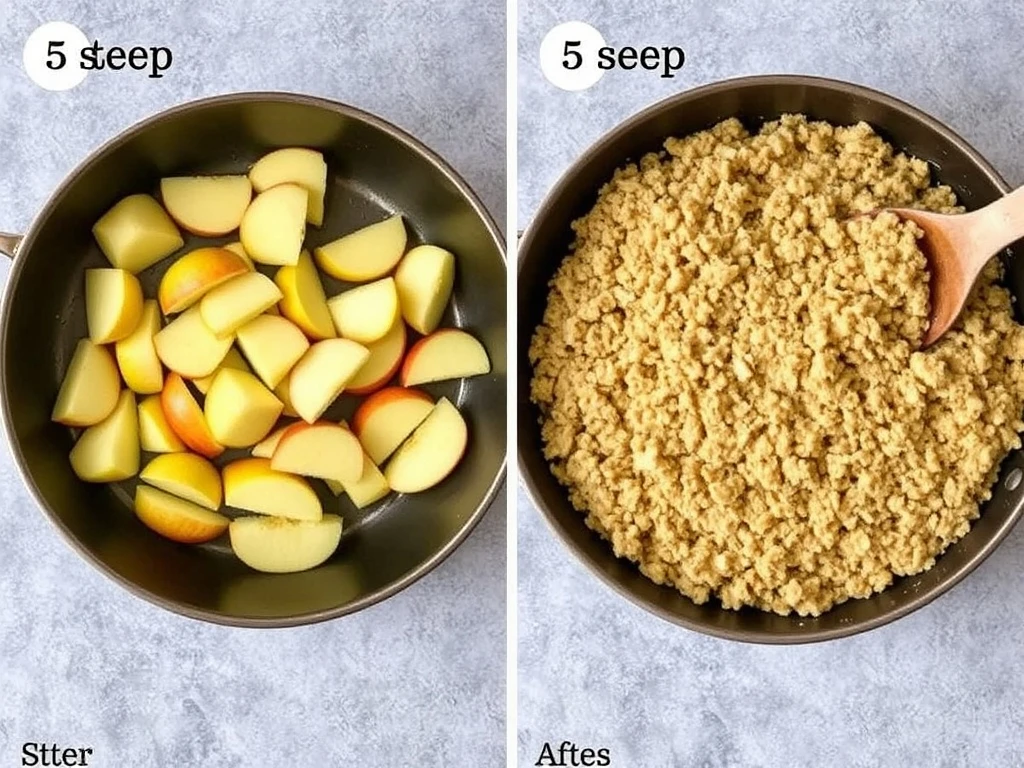
- Step 2: In a large bowl, toss apple slices with 1/2 teaspoon cinnamon. Arrange in the preheated skillet. TIP: Overlap slices slightly to maintain structure during baking.
- Step 3: In another bowl, mix oats, brown sugar, remaining 1 tablespoon cinnamon, and melted butter until crumbly. Spread over apples. TIP: For extra crunch, refrigerate topping for 10 minutes before adding.
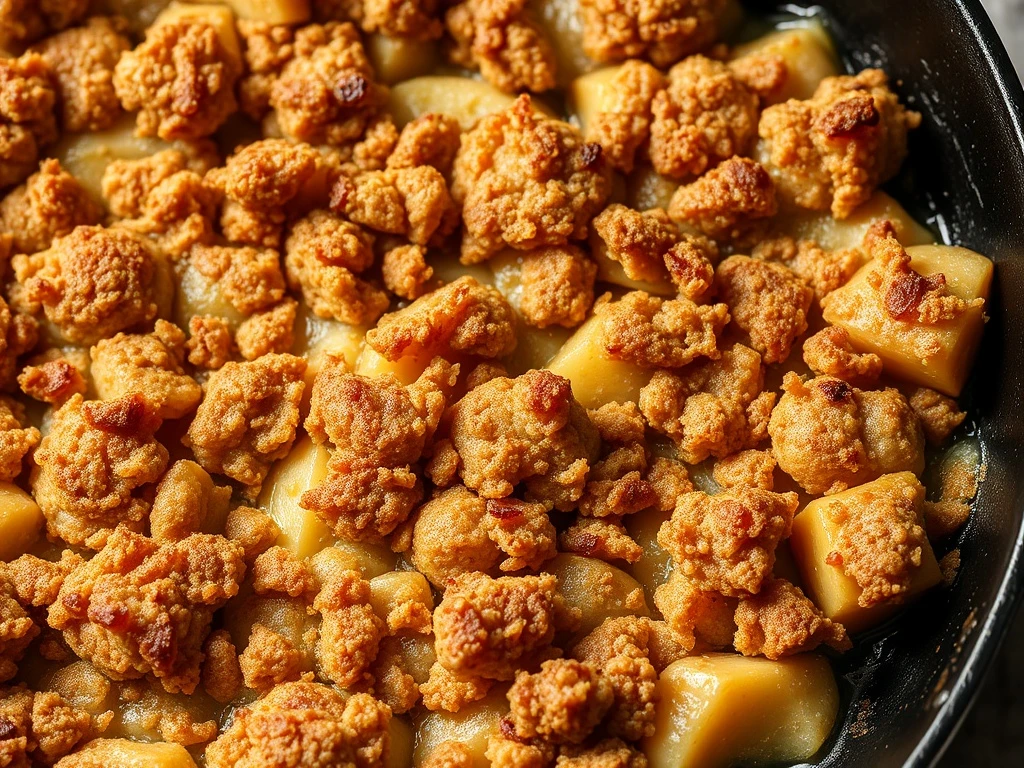
- Step 4: Bake 15-18 minutes until golden and bubbly. Let rest 5 minutes before serving. TIP: The skillet retains heat, so watch for over-browning the last 2 minutes.
Why This Recipe Works
⏰ Effortless 5-Ingredient Magic
Only pantry staples are needed—no exotic items or substitutions. The simplicity means you can whip this up on a whim for unexpected guests or a cozy movie night.
💰 Cast-IRon Skillet Perfection
The skillet’s heat retention creates an even bake and caramelized crust. Plus, serving directly from the skillet adds rustic charm to your table.
👥 Family-Friendly Appeal
Kids can help with slicing apples or mixing the topping. The warm spices and tender apples make it a crowd-pleaser for all ages groups.
🌟 Seasonal Showstopper
The golden-brown topping and cinnamon aroma scream fall. It’s the perfect centerpiece for Thanksgiving or a weekend brunch.
Ingredient Notes & Substitutions
Apples
Granny Smith apples hold up best during baking, but Honeycrisp or Braeburn offer a sweeter option. Avoid Red Delicious as they become mushy.
Substitutions: Use any firm apple; for a twist, try tart Granny Smith with a splash of lemon juice.
Oats
Old-fashioned rolled oats provide the best texture. Quick oats will make the topping too dense, while steel-cut oats won’t soften properly.
Substitutions: Replace with crushed graham crackers or gluten-free oats for dietary needs.
Butter
Unsalted butter ensures balanced flavor. Salted butter will make the topping too salty; reduce added salt in the recipe if using.
Substitutions: Use coconut oil for a dairy-free version, or vegan butter for plant-based baking.
Brown Sugar
Light brown sugar adds moisture and caramel flavor. Demerara or turbinado sugar will create a crunchier topping but may burn more easily.
Substitutions: For a healthier option, use coconut sugar or a 1:1 maple syrup blend.
Cinnamon
Ground cinnamon is essential for the warm, fall flavor. Ceylon cinnamon offers a milder taste, while nutmeg or allspice can be added for complexity.
Substitutions: Use pumpkin spice or a pinch of cardamom for seasonal variations.
Pro Tips for Perfect Apple Crisp
🍂 Apple Prep
Slice apples just before placing in the skillet to prevent browning. Toss with a pinch of salt to enhance flavor and firmness.
🔥 Skillet Secrets
Preheat the skillet in the oven for at least 10 minutes to ensure even baking. Avoid using nonstick skillets, as they won’t brown properly.
🌰 Topping Boosts
Add chopped pecans, walnuts, or pumpkin seeds to the topping for extra texture and flavor. Toast them first for better taste.
❄️ Make-Ahead Tip
Prepare the apple filling and topping separately up to a day ahead. Store in airtight containers and assemble just before baking for best results.
Variations & Customizations
Spiced Apple Crisp
Add 1/2 tsp nutmeg and 1/4 tsp cloves to the topping for a warm, spiced flavor that pairs perfectly with vanilla ice cream.
Pecan Apple Crisp
Mix 1/2 cup chopped toasted pecans into the topping for a Southern twist. The nuts add richness and crunch to each bite.
Gluten-Free Version
Use certified gluten-free oats and a gluten-free flour blend for the topping. Serve with coconut whipped cream for a dairy-free option.
Mini Skillet Bites
Divide the batter among 6 ramekins or mini cast-iron skillets for individual portions. Bake 12-14 minutes and serve as party desserts.
Serving Suggestions & Pairings
🍽️ Best Served With:
- Vanilla Bean Ice Cream – The cool creaminess balances the warm, spiced apple filling.
- Warm Cinnamon Rolls – A complete fall dessert menu with comforting flavors.
- Apple Cider Sangria – A sparkling fall beverage that complements the dessert’s cinnamon notes.
🍷 Drink Pairings:
Pair with a buttery Chardonnay or a spiced apple cider for a cozy, autumnal experience. For non-alcoholic options, try a cinnamon-spiced hot tea.
Make-Ahead Instructions & Storage
Make-Ahead Tips
Prepare the apple filling and topping separately up to 24 hours ahead. Store in airtight containers in the refrigerator. Assemble and bake just before serving.
Refrigerator Storage
Store leftovers in an airtight container for up to 3 days. Reheat in a 350°F oven for 10-15 minutes to restore crispness.
Freezer Storage
Freeze unbaked assembled crisp for up to 2 months. Bake from frozen, adding 5-7 minutes to the cooking time.
Reheating Instructions
Place in the oven at 350°F for 10-15 minutes. Avoid using the microwave, as it will soften the topping.
Troubleshooting & Common Questions
Q: My topping is too soggy. What went wrong?
A: The skillet wasn’t preheated properly. Always place it in the oven while preheating to ensure the apples cook from the start.
Q: Can I use frozen apples?
A: Yes, but thaw and drain them well to remove excess moisture. Frozen apples release more liquid, which can make the filling watery.
Q: How do I prevent the topping from burning?
A: Cover the skillet with aluminum foil during the first 10 minutes of baking. Remove the foil for the last 5 minutes to allow browning.
Q: Can I double the recipe?
A: Yes, but use two skillets or a larger roasting pan. Adjust baking time by 5-7 minutes and check for doneness frequently.
Final Thoughts
This 5-ingredient apple crisp is more than a dessert—it’s a celebration of fall’s best flavors. With minimal effort, you’ll create a dish that feels like a labor of love. The cast-iron skillet elevates the experience, making it perfect for cozy dinners or holiday gatherings.
Whether you stick to the classic recipe or try the variations, this apple crisp will become a fall favorite. Pin it to your Pinterest board and share the rustic charm with friends and family. Happy baking!