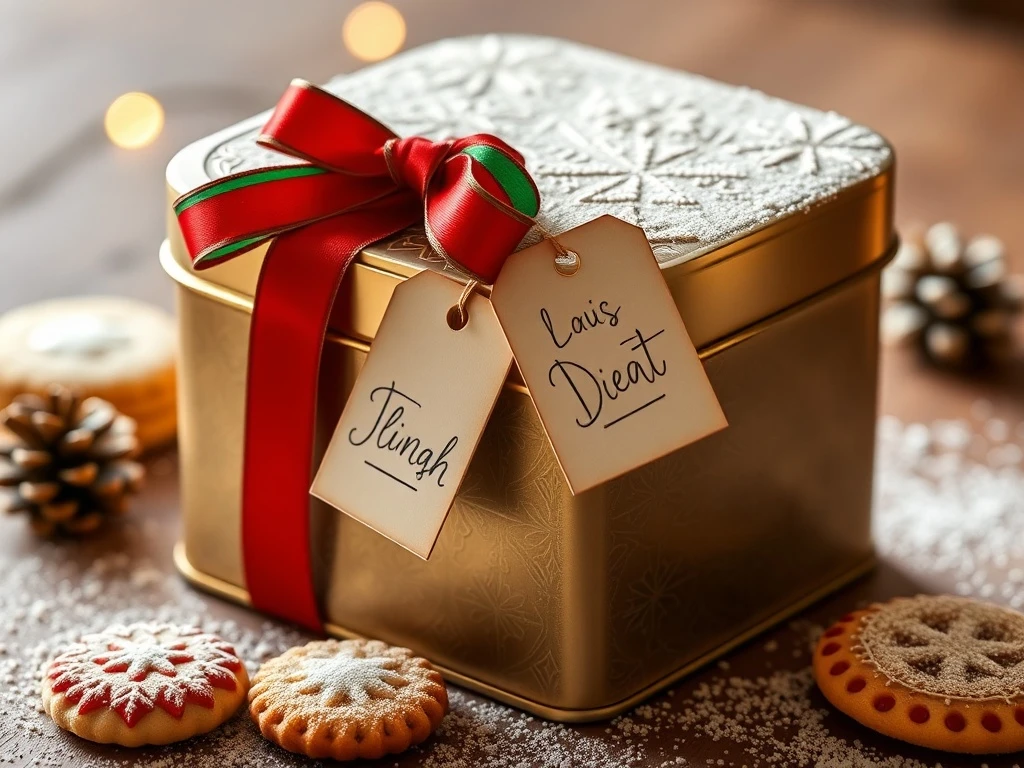
A luxurious DIY gift box that transforms homemade cookies into a boutique-level present
This Christmas cookie gift box tutorial turns simple cookies into a premium gift. With a crisp tin, elegant ribbon, and handwritten tags, it's perfect for beginners who want to create a festive, professional-looking present.
Whether you're gifting to family, friends, or coworkers, this DIY project takes 30 minutes to assemble and adds a personal touch to any cookie batch. The layered packaging and attention to detail make it feel like a store-bought luxury item.
The tutorial includes tips for choosing the right tin, selecting complementary ribbons, and creating handwritten tags that elevate the presentation. You'll also learn how to add festive touches like powdered sugar dusting and sparkling glitter for extra holiday cheer.
This project is ideal for beginners but can be customized with premium materials for a more sophisticated look. The step-by-step instructions ensure even first-time gift box makers can achieve professional results.
By the end of this guide, you'll have a complete gift box that's perfect for holiday gifting, cookie exchanges, or adding a festive touch to your own kitchen.
Why This Recipe Works
⏰ Time-Saving Assembly
The gift box requires no baking - just assemble pre-made cookies in a decorative tin. All steps can be completed in under 30 minutes.
💰 Affordable Luxury
Create a high-end look using budget-friendly materials like standard gift tins and basic ribbons.
👥 Customizable for Any Occasion
Adjust colors, tags, and decorations to match specific holidays, birthdays, or personal preferences.
🌟 Professional Presentation
The layered packaging and attention to detail make homemade cookies feel like a boutique purchase.
Ingredient Notes & Substitutions
Cookies
Use store-bought cookies for convenience or make your own for a personal touch. Choose a variety of shapes and sizes for visual interest.
Substitutions: Use gluten-free cookies for dietary restrictions
Gift Tin
Opt for a metal tin with a hinged lid for durability. Plastic tins work for short-term storage but may not be as elegant.
Substitutions: Use a decorative basket for a more rustic look
Ribbon
Choose grosgrain ribbon for its texture and durability. Satin ribbon adds a more luxurious feel.
Substitutions: Use fabric ribbons for a more eco-friendly option
Tags
Handmade tags add a personal touch. Use cardstock for durability or paper for a more delicate look.
Substitutions: Use pre-made tags with holiday designs
Pro Tips for Perfect Gift Boxes
🎁 Presentation Perfection
Add a small tissue paper bow inside the tin lid for a surprise when opening the gift.
📝 Personalization
Include a handwritten note with the recipient's name for a more personal touch.
🎄 Seasonal Touches
Add small festive items like candy canes or mini ornaments to the gift box.
📸 Photography
For social media, photograph the gift box against a rustic wooden background with natural light.
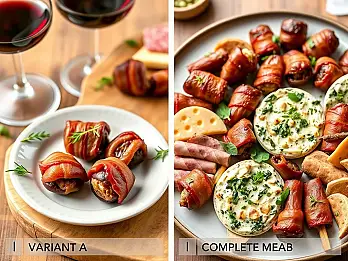
Variations & Customizations
Themed Gift Boxes
Create seasonal variations by changing the ribbon colors and tags. Try pastel shades for spring or autumn leaves for fall.
Premium Packaging
Upgrade to luxury materials like velvet ribbons and gold foil tags for a more sophisticated look.
Personalized Editions
Add monogrammed initials or custom illustrations to make the gift box unique to the recipient.
Mini Versions
Create smaller gift boxes for party favors or office gifts using cookie samples and mini tins.
Serving Suggestions & Pairings
Best Served With:
- Hot cocoa with marshmallows for a cozy holiday drink
- Spiced chai tea to complement the festive flavors
- Mini chocolate truffles for a luxury dessert pairing
Drink Pairings:
Pair with spiced cider or a glass of mulled wine for a traditional holiday experience.
Make-Ahead Instructions & Storage
Make-Ahead Tips
Assemble the gift box up to 3 days in advance. Store in a cool, dry place away from direct sunlight.
Refrigerator Storage
Keep in the refrigerator for up to 5 days. Allow to come to room temperature before serving.
Freezer Storage
Freeze the assembled gift box for up to 2 months. Thaw in the refrigerator overnight before gifting.
Reheating Instructions
Not required for this gift box. Simply serve as assembled.
Troubleshooting & Common Questions
Q: How to prevent cookies from getting crushed in the box?
A: Use parchment paper layers between cookies and add tissue paper for cushioning.
Q: Can I use homemade cookies?
A: Yes! Make sure cookies are fully cooled and not overly soft before packing.
Q: How to make the gift box more festive?
A: Add small decorative elements like candy canes, mini ornaments, or holiday-themed stickers.
Q: What if I don't have a gift tin?
A: Use a decorative basket, jar, or even a large mason jar with a lid.
Final Thoughts
This elegant DIY Christmas cookie gift box is the perfect way to elevate homemade cookies into a luxurious present. With just a few materials and simple techniques, you can create a gift that feels like it came from a boutique bakery.
The beauty of this project lies in its customization - you can adapt the colors, decorations, and personal touches to match any recipient's preferences. Whether you're making gifts for family, friends, or coworkers, this tutorial provides all the tools you need to create professional-looking results.
Don't forget to share your creations on social media using the hashtags #XmasGifts and #DIYChristmas. We'd love to see which ribbon color you chose for your gift box - red, green, or a festive combination!