Create a show-stopping holiday centerpiece with this elegant Christmas cake design
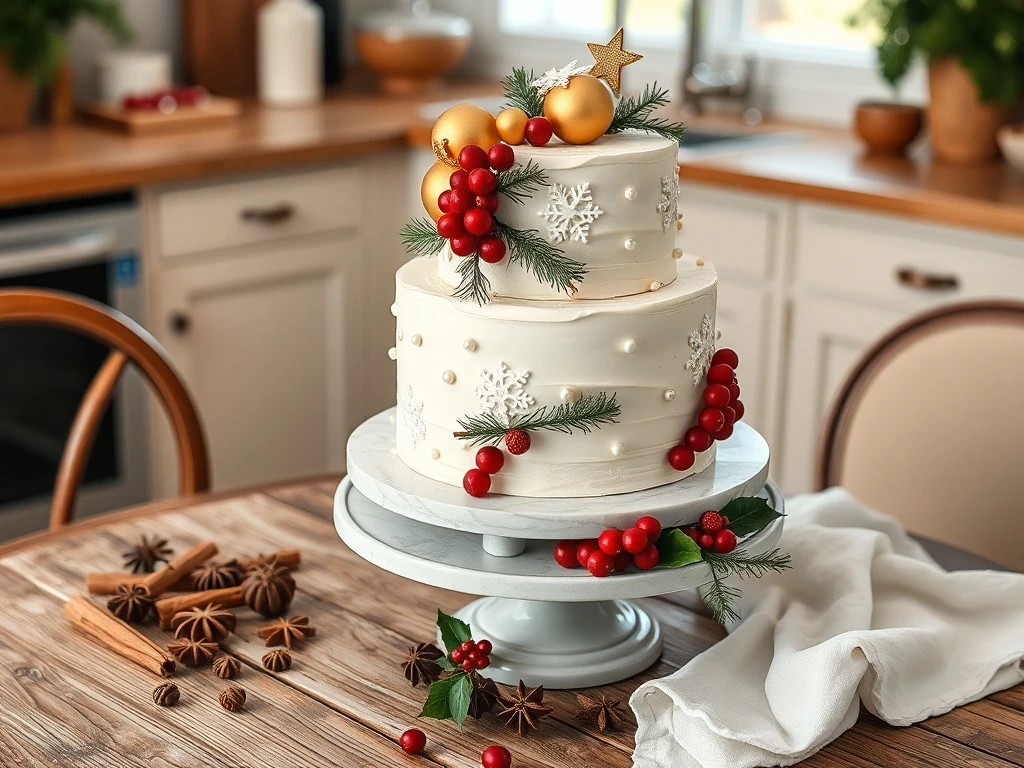
This elegant Christmas cake design combines white buttercream, gold accents, and festive greenery to create a stunning holiday centerpiece. With easy decorating tips, you'll impress guests at your next Christmas party or holiday dinner.
Whether you're hosting a Christmas dinner or festive gathering, this cake will be the star of the show. The combination of delicate snowflakes, shimmering gold ornaments, and fresh pine sprigs creates a magical winter wonderland effect.
The three-tier design with vintage marble cake stand adds a touch of classic elegance, while the edible gold leaf accents and red cranberries bring a festive pop of color. This cake is perfect for both experienced bakers and those new to cake decorating.
With step-by-step instructions and professional decorating tips, you'll learn how to achieve the perfect buttercream texture, create intricate royal icing snowflakes, and apply gold leaf accents like a pro.
Let's create a cake that will make your holiday celebrations unforgettable!
Why This Recipe Works
🌟 Timeless Elegance
The combination of white buttercream, gold accents, and natural greenery creates a classic holiday design that never goes out of style. This cake complements any Christmas decor scheme.
💰 Cost-Effective
Using store-bought cake mix and affordable decorating supplies allows you to create a professional-looking cake without breaking the bank.
👥 Family-Friendly
This recipe is perfect for involving the whole family in holiday baking. The decorating steps can be done together for a fun Christmas activity.
🌟 Show-Stopping
The vintage marble cake stand and gold leaf accents create a luxurious presentation that will impress any guest at your holiday gathering.
Ingredient Notes & Substitutions
White Cake Mix
The white cake mix forms the base of this elegant Christmas cake. You can use any high-quality white cake mix available in your region.
Substitutions: Yellow cake mix can be used if white cake mix is unavailable. For a gluten-free option, use a gluten-free cake mix.
Buttercream Frosting
White buttercream provides the smooth base for decorating. Look for a high-quality brand with a good consistency for piping and spreading.
Substitutions: You can make homemade buttercream by creaming 1 cup butter with 4 cups powdered sugar, 2 tsp vanilla extract, and 6-8 tbsp milk.
Royal Icing
Royal icing is used for the delicate snowflake decorations. It hardens as it dries, making it perfect for intricate designs.
Substitutions: You can use store-bought royal icing or make your own with powdered sugar, meringue powder, and water.
Gold Leaf
Edible gold leaf adds a luxurious touch to this holiday cake. If you can't find edible gold leaf, you can use non-edible gold leaf for decoration purposes only.
Substitutions: Gold dust or edible gold paint can be used as alternatives.
Pine Sprigs
Fresh pine sprigs add a natural, festive touch to the cake. Choose small, fresh sprigs with visible needles for the best presentation.
Substitutions: Artificial pine sprigs can be used if fresh ones aren't available.
Cranberries
Red cranberries add a pop of color at the base of the cake. Use fresh or dried cranberries depending on availability.
Substitutions: Artificial cranberries can be used for decoration purposes.
Pro Tips for Perfect Elegant Christmas Cakes
❄️ Frostinging Consistency
For smooth application, let your buttercream rest in the refrigerator for 30 minutes before use. If it becomes too firm, add a few drops of milk to loosen it.
🎨 Color Matching
When using food coloring, test on a small area first to achieve the desired shade. For a vintage look, use a light gold instead of bright gold.
🌲 Natural Decorations
Use fresh pine sprigs for the most natural look. Store them in water until ready to use to keep them fresh and vibrant.
✨ Gold Leaf Application
For best results, apply gold leaf in a cool, dry environment. Use a small brush to gently press the leaf into place.
Variations & Customizations
Festive Color Scheme
Change the color palette to match your holiday decor. Try using silver instead of gold for a more modern look or add blue accents for a winter theme.
Theme Variations
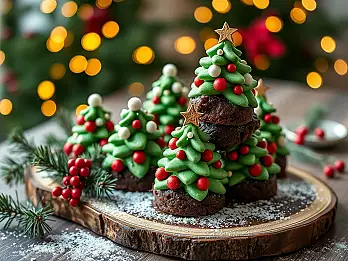
Create a Christmas tree design by shaping the cake into a cone shape. Add edible glitter for a snowy effect and place candy cane decorations.
Mini Cakes
Make individual mini cakes for party guests. Decorate each with a small gold ornament and a tiny pine sprig for a personalized touch.
Seasonal Adjustments
This design can be adapted for other holidays. Use red and green decorations for New Year's or pastel colors for Easter.
Serving Suggestions & Pairings
🍽️ Best Served With:
- Hot cocoa with marshmallows for a cozy holiday treat
- Mulled wine for a festive adult beverage
- Mini Christmas cookies for a sweet snack
🍷 Drink Pairings:
Pair this elegant Christmas cake with a glass of sparkling wine or spiced chai tea for a perfect holiday dessert experience.
Make-Ahead Instructions & Storage
Make-Ahead Tips
You can prepare the cake layers and frost them 1-2 days in advance. Store in an airtight container at room temperature. Assemble and decorate the day of serving for the best results.
Refrigerator Storage
Fully decorated cake can be stored in the refrigerator for up to 3 days. Bring to room temperature before serving for optimal taste and texture.
Freezer Storage
Unfrosted cake layers can be frozen for up to 3 months. Wrap tightly in plastic wrap and aluminum foil. Thaw at room temperature before frosting.
Reheating Instructions
This cake is best served at room temperature. If you need to warm it, place in a preheated oven at 300°F for 5-10 minutes. Avoid overheating as it may affect the delicate decorations.
Troubleshooting & Common Questions
Q: How do I prevent the cake from sinking in the center?
A: Make sure to measure the ingredients accurately and avoid overmixing the batter. Also, check your oven temperature with a thermometer to ensure it's at the correct setting.
Q: My buttercream is too runny. What can I do?
A: Chill the frosting in the refrigerator for 30 minutes to firm it up. If it's still too soft, you can add more powdered sugar (1/4 cup at a time) to thicken it.
Q: How do I get smooth royal icing snowflakes?
A: Make sure your royal icing is at the right consistency - it should form a peak when spooned. Practice on parchment paper before decorating the cake. Use a small star tip for the best results.
Q: Can I make this cake in smaller sizes?
A: Yes! This recipe can be adapted for 6-inch or mini cake pans. Adjust the baking time accordingly (check for doneness after 20-25 minutes).
Final Thoughts
This elegant Christmas cake design is the perfect way to bring holiday magic to your celebrations. With its combination of white buttercream, gold accents, and festive greenery, it's sure to impress any guest at your Christmas gathering.
Whether you're an experienced baker or trying your hand at cake decorating for the first time, this recipe provides clear instructions and helpful tips to create a show-stopping centerpiece. The vintage marble cake stand and gold leaf accents add a touch of timeless elegance that complements any holiday decor.
Remember to start planning your cake at least two days before your event to allow time for the layers to cool and the decorations to set properly. With a little practice and attention to detail, you'll create a masterpiece that will make your holiday celebrations unforgettable!