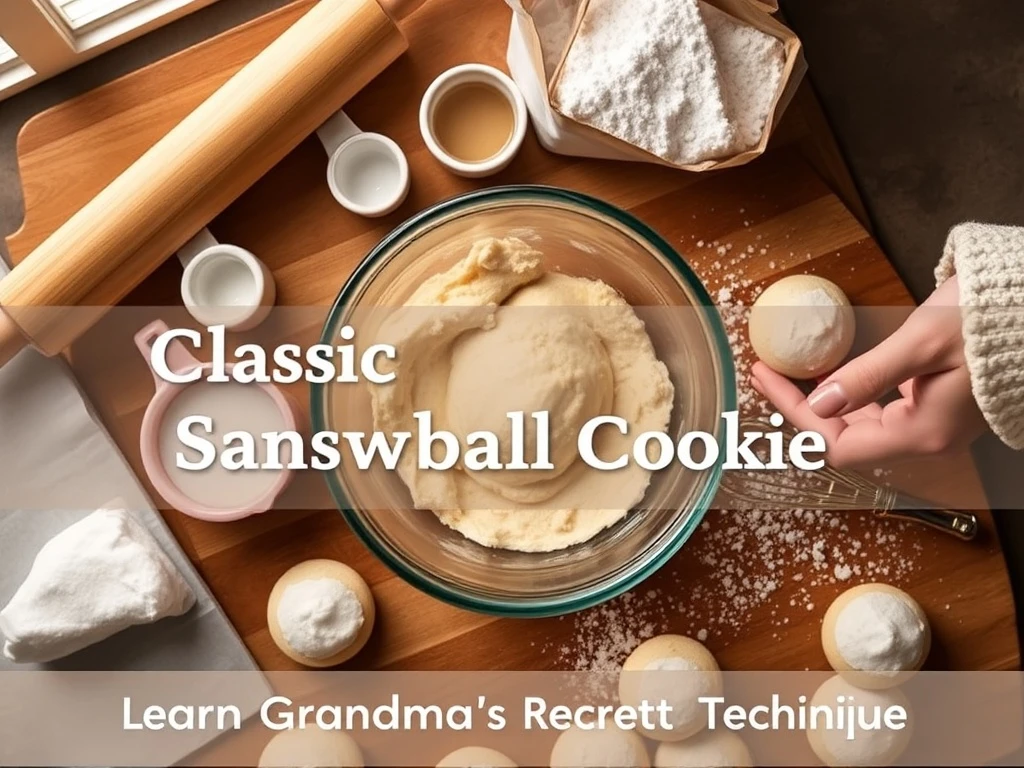
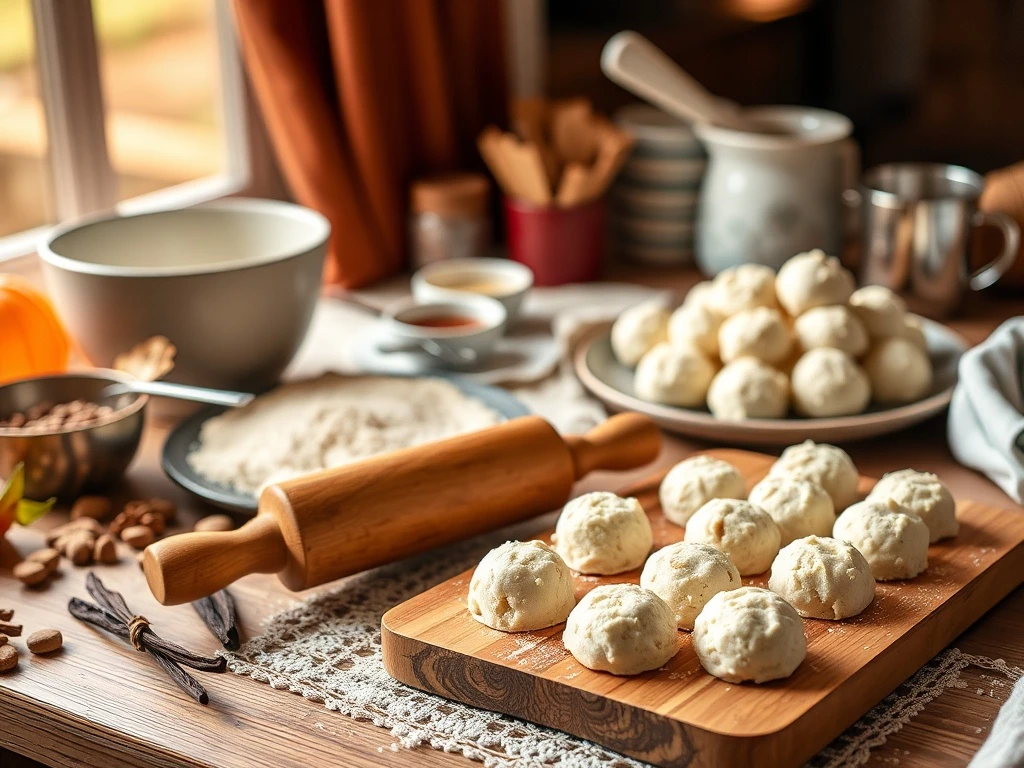
Grandma’s classic snowball cookie recipe is a timeless treat that combines buttery richness with a snowy powdered-sugar coating. This step-by-step guide reveals her secret technique for perfect, melt-in-your-mouth cookies every time.
Whether you’re planning a cozy family gathering or a festive holiday spread, these cookies are a crowd-pleaser. Their delicate texture and nostalgic charm make them a must-have for any baker. With just a few simple ingredients and our detailed process, you’ll master this classic dessert in no time.
The key to success lies in the creaming method, proper chilling, and the perfect powdered-sugar application. We’ll walk you through each step, from mixing the dough to achieving that signature snowy coat. Plus, we’ll share pro tips to elevate your baking game!
Why This Recipe Works
Nostalgic Flavor
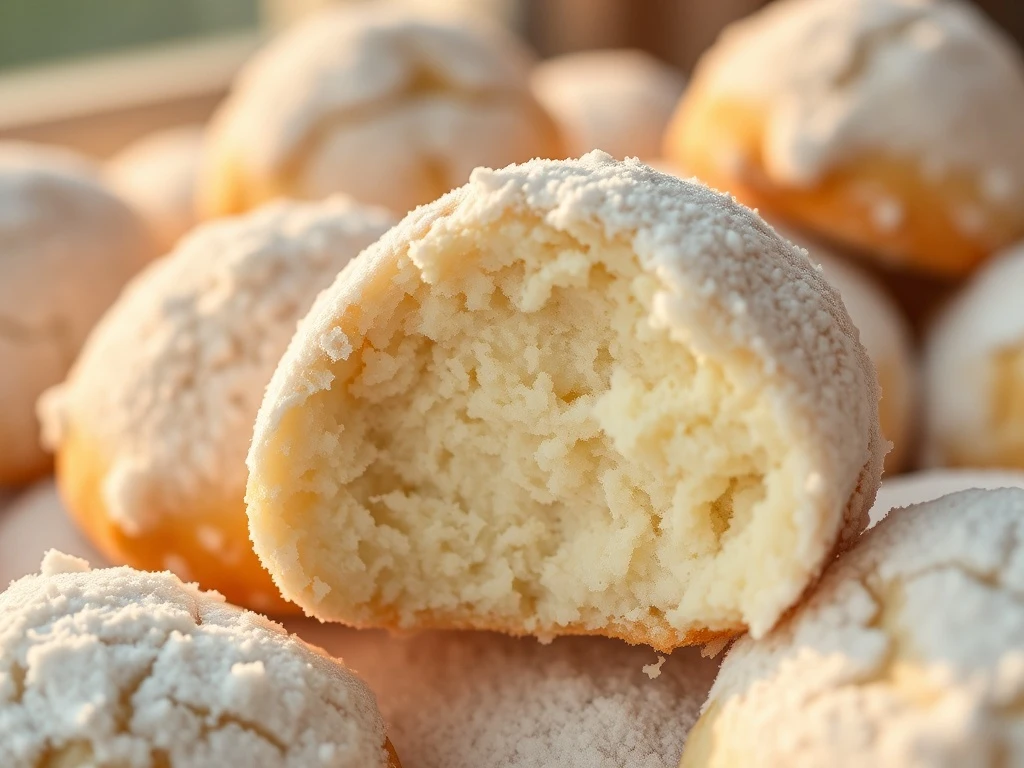
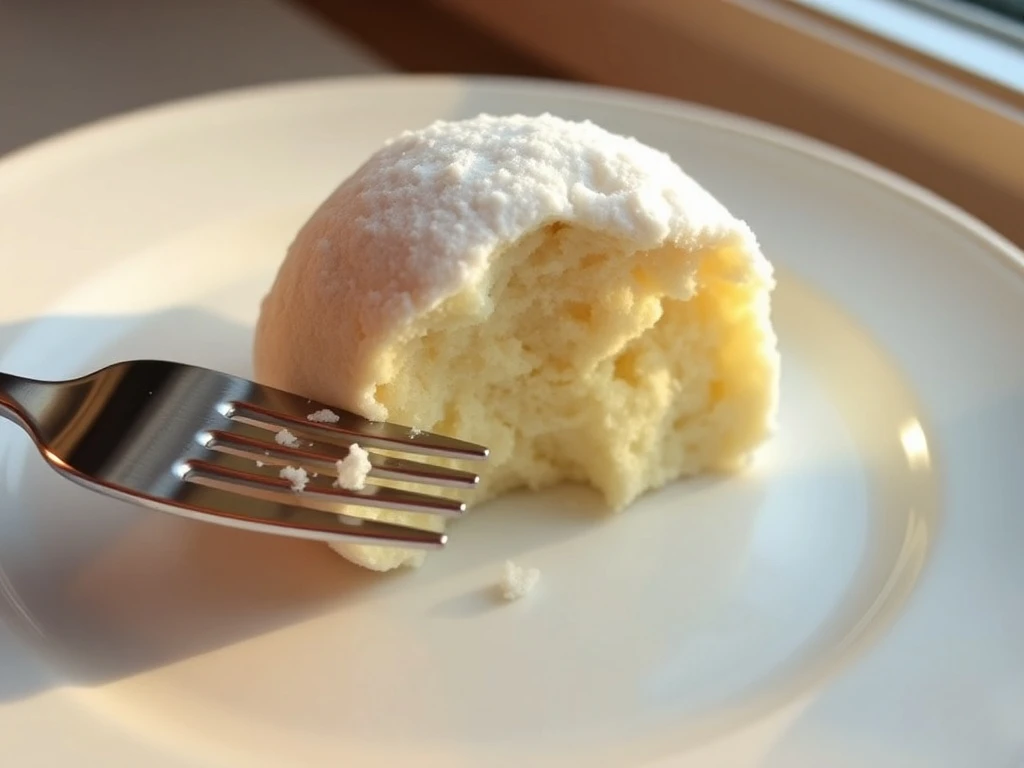
These cookies capture the buttery, slightly sweet flavor of traditional snowballs with a delicate texture that melts in your mouth.
Simple Ingredients
Only 5 basic ingredients are needed: butter, sugar, flour, vanilla, and powdered sugar for coating. No special equipment required!
Make-Ahead Friendly
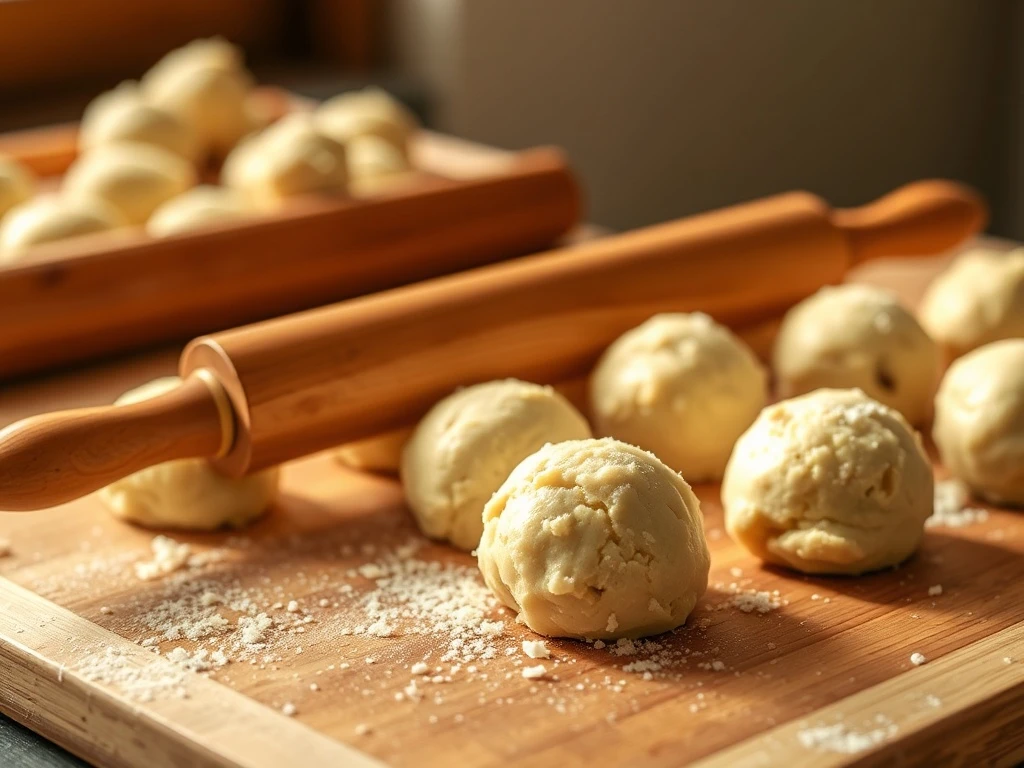
Chill the dough and shape the balls ahead of time. The final baking and coating steps take just 15 minutes!
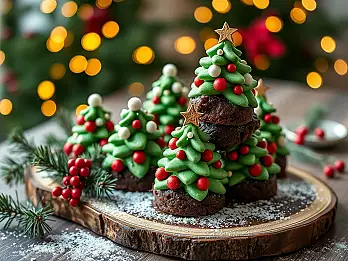
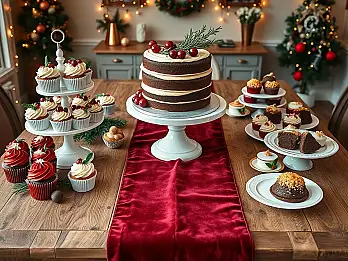
Visual Appeal
The snowy powdered-sugar coating and rustic presentation make these cookies a stunning addition to any dessert table.
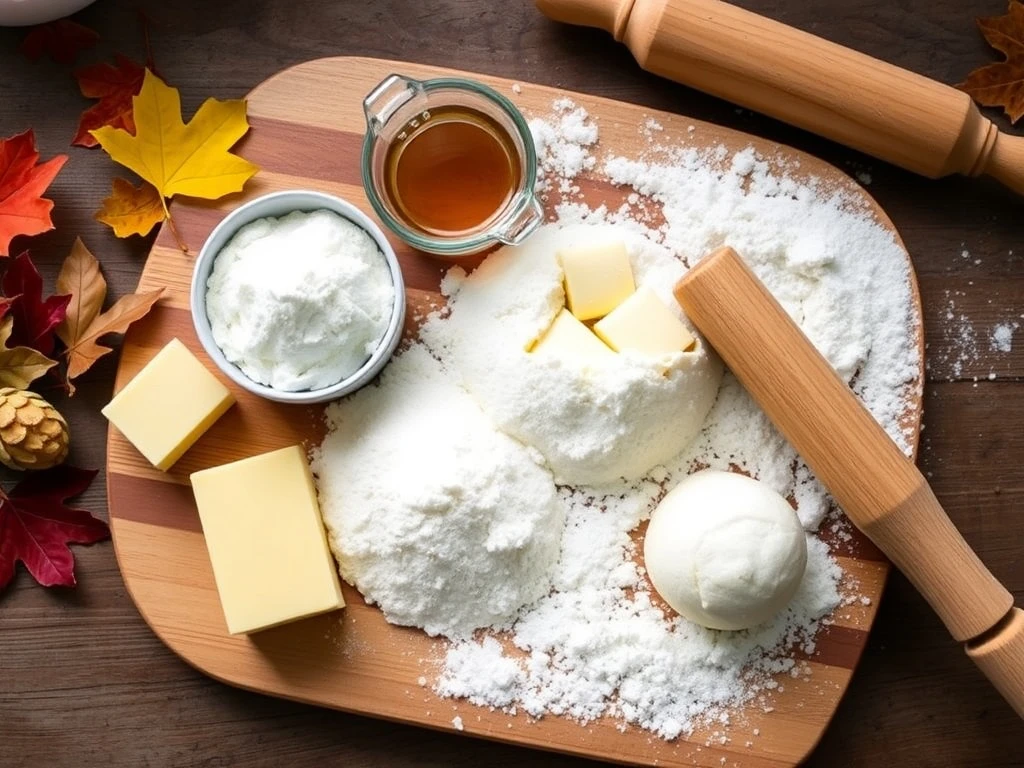
Ingredient Notes & Substitutions
Unsalted Butter
Provides rich flavor and structure. Use room-temperature butter for best results.
Substitute: Salted butter (reduce added salt by 1/4 tsp)
Granulated Sugar
Adds sweetness and helps the cookies spread slightly during baking.
Substitute: Brown sugar (for a richer flavor)
Flour
All-purpose flour gives the perfect balance of chewiness and crumb.
Substitute: Cake flour (for a more delicate texture)
Powdered Sugar
Creates the signature snowy coating. Sift if clumpy.
Substitute: Granulated sugar (sprinkle lightly after baking)
Pro Tips for Perfect Snowball Cookies
Chilling Technique
Chill the dough for at least 30 minutes to firm up the butter, preventing the cookies from spreading.
Creaming Method
Beat the butter and sugar until light and fluffy for maximum volume and a tender crumb.
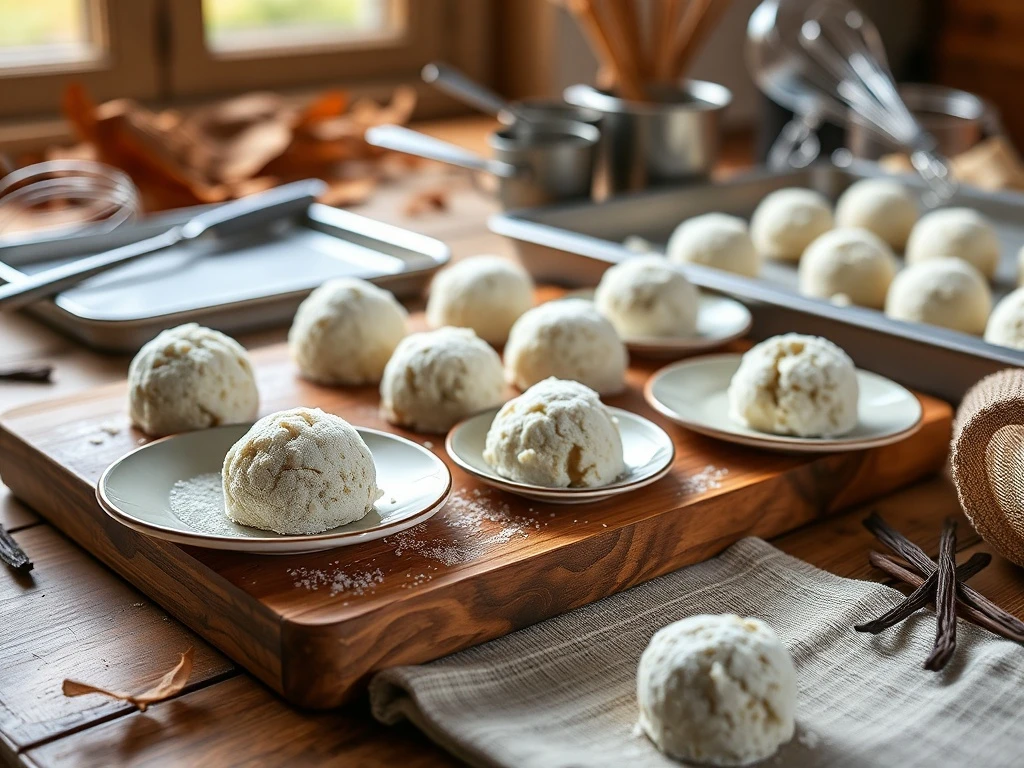
Shaping Tips
Use a small ice cream scoop for uniform sizing. Roll the dough gently to avoid compacting it too much.
Coating Secrets
Let the cookies cool completely before coating to ensure the powdered sugar sticks properly.
Variations & Customizations
Cinnamon-Sugar Coating
Mix 1/4 cup cinnamon with 2 cups powdered sugar for a spiced version. Perfect for fall gatherings gatherings!
Mini Snowballs
Use a smaller scoop to make bite-sized cookies. Ideal for holiday cookie platters.
Chocolate-Dipped
Dip half of each cookie in melted chocolate before coating with powdered sugar for a modern twist.
Gingerbread Base
Add 1/2 tsp ground ginger and 1/4 tsp nutmeg to the dough for a spiced gingerbread variation.
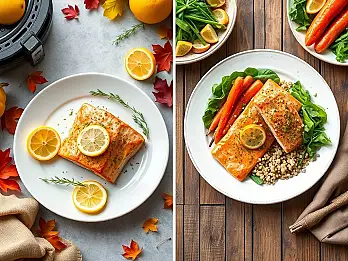
Serving Suggestions & Pairings
🍽️ Best Served With:
- Hot chocolate or spiced chai tea
- Vanilla ice cream for a decadent dessert
- A slice of lemon pie for a sweet-sour contrast
🍷 Drink Pairings:
Pair with a sweet Riesling or a spiced chai latte to complement the cookies’ buttery flavor.
Make-Ahead Instructions & Storage
Make-Ahead Tips
Shape the dough balls and store them in an airtight container for up to 3 days. Bake just before serving.
Refrigerator Storage
Store baked cookies in an airtight container for up to 5 days. Add a sheet of parchment paper between layers to prevent sticking.
Freezer Storage
Freeze shaped dough balls for up to 2 months. Bake from frozen, adding 1-2 minutes to the baking time.
Reheating Instructions
Warm cookies in a 300°F oven for 5-10 minutes to restore freshness. Avoid microwaving to prevent sogginess.
Troubleshooting & Common Questions
Q: Why are my cookies too flat?
A: The butter may have been too warm. Chill the dough longer next time.
Q: How to prevent the powdered sugar from clumping?
A: Sift the powdered sugar before coating the cookies to ensure it’s dry and fluffy.
Q: Can I make these gluten-free?
A: Use a 1:1 gluten-free flour blend for the best results.
Q: How to store the cookies for a cookie exchange?
A: Place in a single layer in an airtight container to maintain their snowy coating.
Final Thoughts
Grandma’s classic snowball cookies are more than just a recipe—they’re a celebration of nostalgia, simplicity, and the joy of baking from scratch. With their delicate texture and snowy coating, these cookies are sure to become a family favorite.
Whether you’re hosting a holiday gathering or simply craving a comforting treat, this step-by-step guide will help you create perfect snowballs every time. Save this pin, gather your ingredients, and start planning your next baking session. Which step excites you most? Share your thoughts in the comments below! 💬