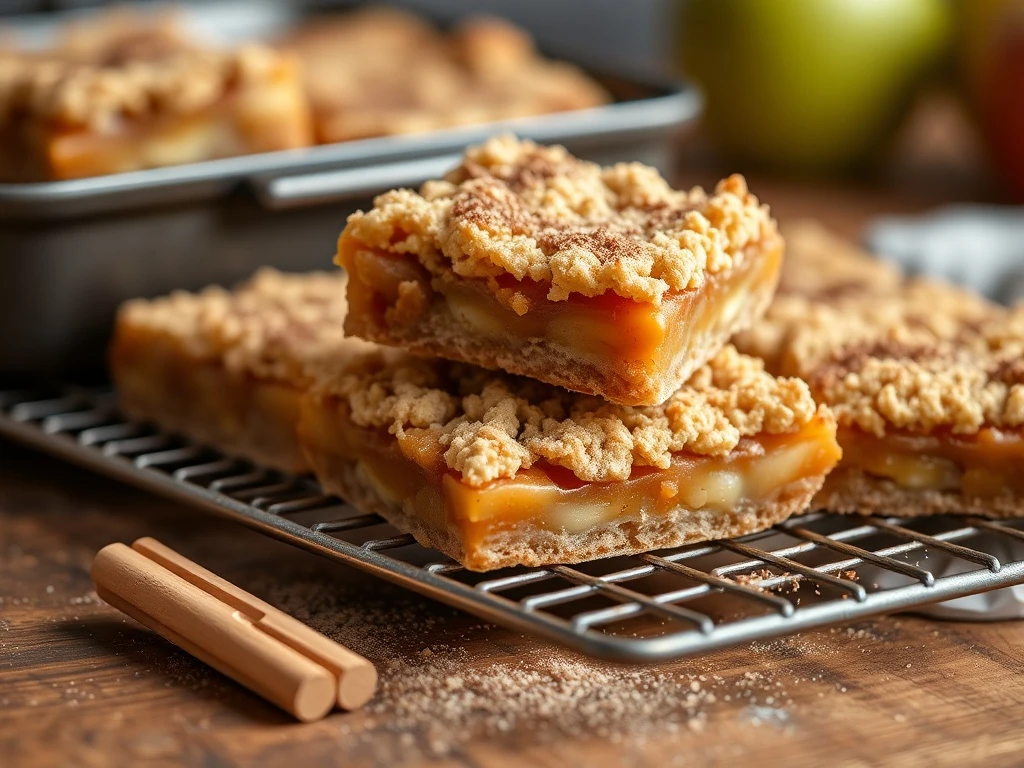
5‑Ingredient Apple Crisp Bars 🍎 – Portable Sweet Snacks for On‑The‑Go
Transform classic apple crisp into portable bars with this 5-ingredient recipe perfect for lunchboxes, picnics, and on-the-go snacking!
These 5-ingredient Apple Crisp Bars are the ultimate solution for anyone craving warm, spiced apple flavor in a portable format. Imagine taking all the cozy comfort of a classic apple crisp and turning it into bite-sized bars that stay fresh for days. Whether you're packing lunches, prepping snacks for the office, or enjoying a fall afternoon treat, these bars deliver the perfect balance of tender apple filling and crunchy oat topping. With just apples, oats, butter, brown sugar, and cinnamon, this recipe proves that fewer ingredients can create unforgettable flavor. The bars are easy to customize with nuts or different spices, and they freeze beautifully for future snacking. Let's dive into how to make these crowd-pleasing, portable desserts that will become your go-to snack for any season.
When life gets busy and you still want to enjoy homemade treats, these Apple Crisp Bars are your secret weapon. They're perfect for parents packing school lunches, teachers needing quick rewards, or anyone who wants a no-fuss dessert that doubles as a snack. The best part? They require no special equipment - just a 9x13-inch baking pan and your oven. The bars stay fresh in an airtight container for up to a week, making them ideal for meal prep or sharing with friends and family. Whether you're enjoying them warm from the oven or at room temperature, these bars capture the essence of fall in every bite.
What makes these bars truly special is their versatility. The base can be made with any variety of apple - Granny Smith for tartness, Honeycrisp for sweetness, or a mix for balanced flavor. The spiced oat topping adds a satisfying crunch that contrasts beautifully with the tender apple filling. You can also customize the recipe by adding walnuts for extra texture or switching up the spices to create a unique flavor profile. These bars are gluten-free when using certified gluten-free oats, making them accessible to everyone.
As someone who loves creating recipes that simplify busy lives, I designed these bars to be both delicious and practical. They're perfect for family gatherings where you want to offer a portable dessert option, or for personal enjoyment when you need a quick pick-me-up. The 5-ingredient approach means you can whip them up in minutes with pantry staples, and the make-ahead capability ensures you're always ready for spontaneous snack needs.
Whether you're a seasoned baker or just starting out, these Apple Crisp Bars are an excellent choice. The step-by-step instructions are straightforward, and the results are consistently delicious. With their warm cinnamon aroma and comforting apple flavor, they're sure to become a favorite in your household. Let's get started on this easy, crowd-pleasing recipe!
Ingredients
- 2 lbs (900g) apples, peeled and thinly sliced (any variety)
- 1 cup (120g) old-fashioned rolled oats
- 1/2 cup (115g) unsalted butter, melted
- 1 cup (200g) packed brown sugar
- 1 1/2 tsp ground cinnamon
- 1/4 tsp salt (optional, for balance)
Instructions
- Step 1: Preheat oven to 350°F (175°C). Line a 9x13-inch baking pan with parchment paper, leaving an overhang for easy removal.
💡 Tip: Use non-stick baking spray under parchment for extra insurance against sticking.
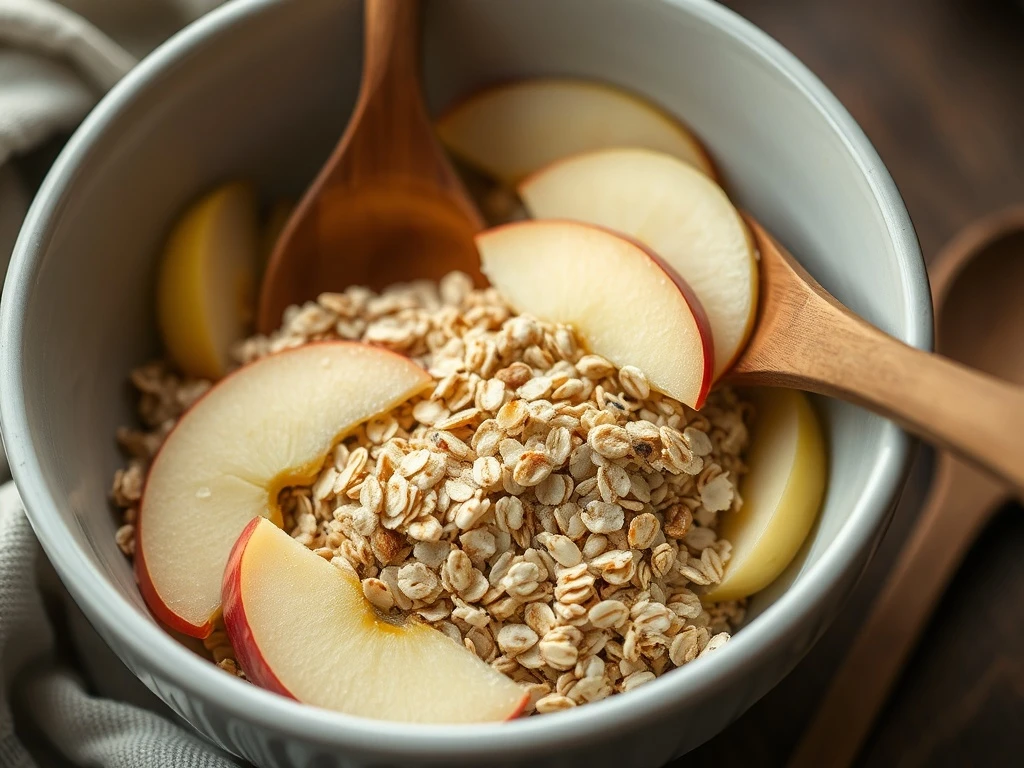
- Step 2: In a large bowl, combine oats, brown sugar, melted butter, cinnamon, and salt. Mix until the mixture resembles damp sand.
💡 Tip: The topping should hold together when pressed - if it's too dry, add a teaspoon of melted butter.
- Step 3: Press half of the topping mixture into the prepared pan as the base. Arrange apple slices in a single layer over the base. Top with the remaining topping mixture, pressing gently to cover apples.
💡 Tip: For even baking, arrange apples in concentric circles rather than haphazard piles.
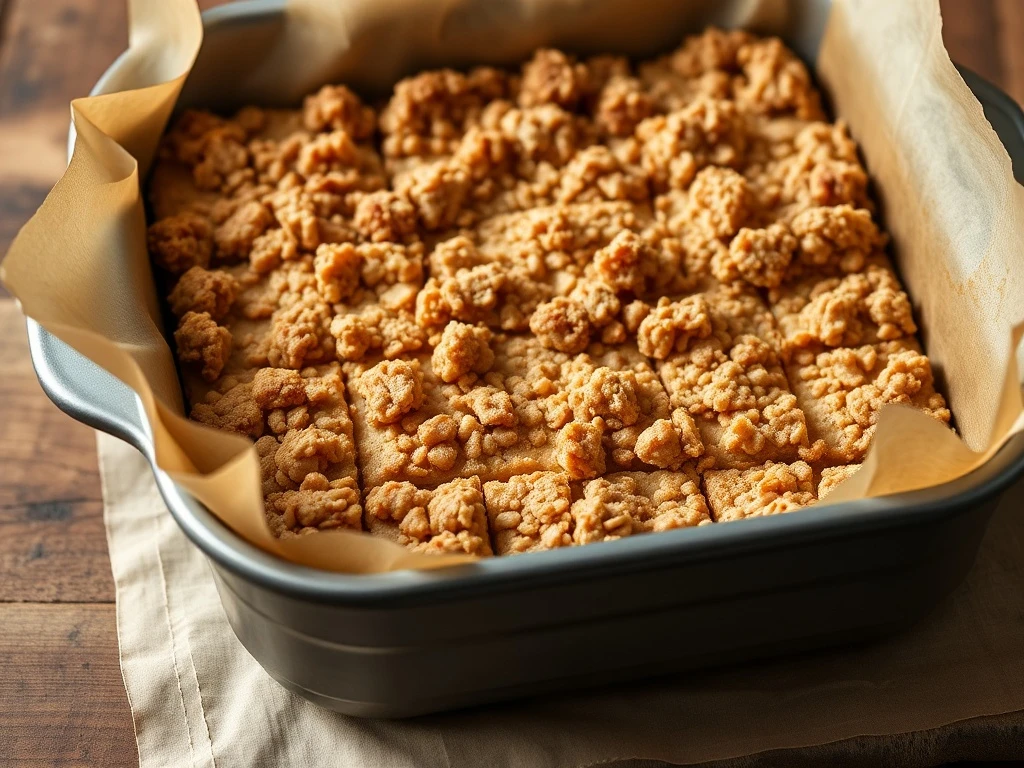
- Step 4: Bake for 30-35 minutes, until golden brown and the topping is crisp. Let cool completely before cutting into 24 bars.
💡 Tip: If topping browns too quickly, cover loosely with foil during last 10 minutes of baking.
Why This Recipe Works
⏰ Quick & Easy
With just 5 ingredients and 45 minutes total time, these bars are perfect for busy weeknights. No special equipment needed - just a baking pan and oven.
💰 Budget-Friendly
Apples, oats, and butter are pantry staples that combine for under $5 in ingredients. Make-ahead capabilities save time on busy days.
👥 Versatile Serving
Perfect for individual snacks, lunchbox additions, or party bites. Freeze uncut bars for up to 3 months for future snacking.
🌟 Flavor Power
The combination of spiced oats and tender apples creates a flavor profile that's both comforting and exciting. Works with any apple variety!
Ingredient Notes & Substitutions
Apples
The foundation of this recipe, apples provide both structure and flavor. Use any variety you prefer - tart Granny Smith for balance, sweet Honeycrisp for richness, or a mix for complexity.
Substitutions: Pears, peaches, or a combination work well. For a non-fruit version, try using a combination of raisins and dried cranberries.
Oats
Old-fashioned rolled oats create the perfect texture for the topping. Quick oats will make the topping too fine, while steel-cut oats would be too coarse.
Substitutions: You can use a combination of oats and flour for a different texture, or try using crushed graham crackers for a different flavor profile.
Butter
Melted butter binds the topping together and adds richness. The fat content helps create the crisp texture.
Substitutions: Coconut oil works well for a dairy-free version. For a richer flavor, use half butter and half browned butter.
Brown Sugar
The brown sugar adds both sweetness and moisture to the topping. It also contributes to the golden color and caramel notes.
Substitutions: You can use a combination of white sugar and molasses for a similar effect. For a healthier option, try coconut sugar or maple syrup.
Pro Tips for Perfect Apple Crisp Bars
🍂 Apple Prep
Peel and slice apples uniformly for even cooking. A mandoline can help achieve consistent thickness.
🔥 Baking Success
For extra crisp topping, chill the assembled bars in the refrigerator for 15 minutes before baking.
❄️ Make-Ahead Tip
Assembled but unbaked bars can be frozen for up to 3 months. Bake from frozen, adding 5-7 minutes to the baking time.
✨ Flavor Boost
Add a pinch of nutmeg or allspice to the topping for extra warmth and complexity.
Variations & Customizations
Nutty Crunch
Add 1/2 cup chopped walnuts or pecans to the topping mixture for added texture and flavor.
Spiced Twist
Mix in 1/2 tsp ground ginger and 1/4 tsp cloves to the topping for a fall spice blend.
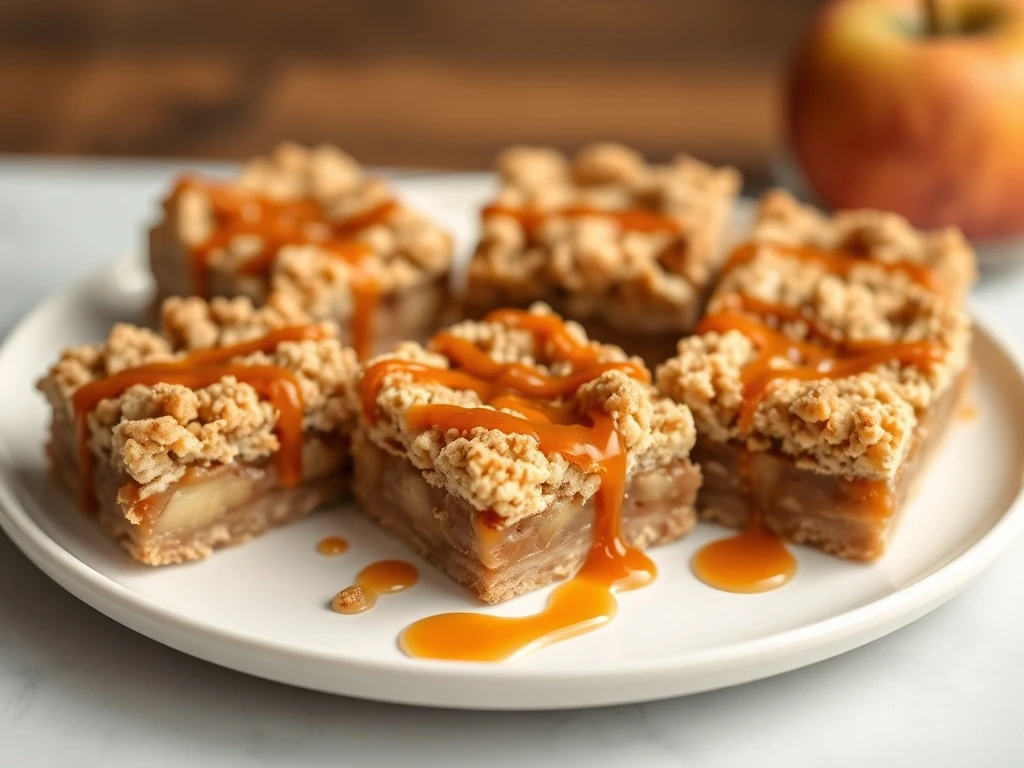
Glazed Finish
Brush cooled bars with a simple glaze of 1 part melted butter and 2 parts powdered sugar for extra sweetness.
Dairy-Free
Use coconut oil instead of butter and a dairy-free brown sugar substitute for a vegan version.
Serving Suggestions & Pairings
🍽️ Best Served With:
- Vanilla ice cream for a classic dessert pairing
- Hot apple cider or spiced chai for a warm beverage match
- Individual slices of cheddar cheese for a savory-sweet contrast
🍷 Drink Pairings:
Pair with a crisp Riesling or a buttery Chardonnay to complement the apple flavors. For non-alcoholic options, try sparkling apple cider or a spiced coffee.
Make-Ahead Instructions & Storage
Make-Ahead Tips
Prepare the topping mixture up to 2 days in advance and store in an airtight container. The apple slices can be peeled and stored in water for up to 8 hours.
Refrigerator Storage
Store cooled bars in an airtight container for up to 5 days. They actually improve in flavor slightly over time as the spices meld.
Freezer Storage
Unbaked bars can be frozen for up to 3 months. Baked bars freeze well for 2-3 months. Thaw at room temperature before serving.
Reheating Instructions
For best results, reheat in a 300°F (150°C) oven for 5-7 minutes until warmed through. Avoid microwave use as it can make the topping soggy.
Troubleshooting & Common Questions
Q: My topping is too dry. What should I do?
A: Add a teaspoon of melted butter at a time until the topping holds together when pressed. The moisture helps bind the ingredients and create the right texture.
Q: How can I prevent the apples from browning before baking?
A: Toss apple slices with a bit of lemon juice before layering. This natural acid prevents oxidation and keeps the apples looking fresh.
Q: The bars are too crumbly. How can I fix this?
A: Make sure you're using old-fashioned rolled oats, not quick or instant oats. Also, ensure the butter is fully melted when mixing the topping.
Q: Can I make smaller bars for individual portions?
A: Absolutely! Use a 9x9-inch pan and cut into 16 smaller bars. The baking time will be slightly shorter, about 25-30 minutes.
Final Thoughts
These 5-Ingredient Apple Crisp Bars are more than just a convenient snack - they're a testament to how simple ingredients can create unforgettable flavor. Whether you're packing lunches, preparing snacks for the week, or simply craving a warm dessert, these bars deliver all the comfort of classic apple crisp in a portable format. The versatility of this recipe means you can customize it to suit your preferences, from adding nuts for extra crunch to experimenting with different spices.
I love how these bars bridge the gap between homemade treats and on-the-go convenience. They're perfect for sharing with friends, taking on picnics, or enjoying as an afternoon pick-me-up. The fact that they freeze so well makes them an excellent make-ahead option for busy days. With just five ingredients and minimal effort, you can enjoy the cozy flavors of fall anytime. Give this recipe a try - I'm confident it'll become a staple in your kitchen!