5 Gorgeous Thanksgiving Cake Topper DIYs 🎃 – Transform Your Cake in Minutes! – Festive Flair Without the Cost
Elevate your Thanksgiving cake with these 5 stunning, budget-friendly DIY toppers that turn your dessert into a holiday masterpiece.
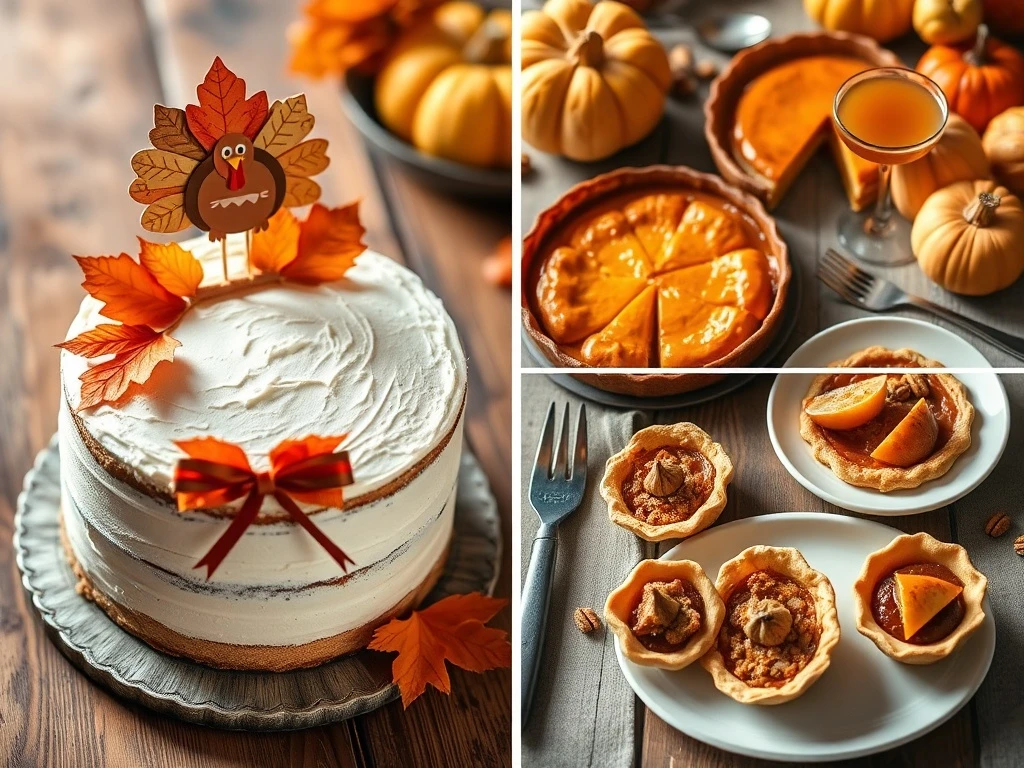
Thanksgiving cakes deserve as much love as the turkey! These 5 DIY toppers blend rustic charm with modern elegance using just cardstock, ribbon, and edible glitter. Whether you're a crafting novice or a seasoned decorator, these projects add professional polish without the hassle. From hand-cut turkey silhouettes to autumn leaf garlands, each topper takes under 10 minutes to make and transforms your cake into a showstopper. Perfect for family gatherings or holiday parties, these ideas ensure your dessert table shines.
With Thanksgiving around the corner, your cake should be the star of the dessert table. These DIY toppers require minimal supplies but maximum impact—think turkeys, leaves, and whimsical elements that capture the spirit of the season. Best of all, they’re customizable to match your table’s color scheme or theme.
The projects are designed for all skill levels. Need a quick fix? The edible glitter turkeys and ribbon bows take just minutes. Want something more intricate? Try the hand-painted leaf garlands or 3D paper turkeys. Each topper is crafted to complement both classic pumpkin pies and modern layered cakes.
The step-by-step instructions include tips for working with cardstock, applying edible adhesives, and using tools like circle cutters or embossing folders. For a cohesive look, mix and match toppers—imagine a cake adorned with a paper turkey, leaf garland, and ribbon bow for a layered effect.
Whether you’re hosting a small family dinner or a large gathering, these toppers add a personal touch that store-bought decorations can’t match. Plus, they’re reusable for future holidays or fall-themed events!
Ingredients & Supplies
- Heavyweight cardstock (brown, orange, red, green)
- Edible craft glue or royal icing
- Edible glitter in gold, copper, or autumn colors
- Acrylic paints or markers (for non-edible toppers)
- Scissors, craft knife, or paper trimmer
- Ribbon (burlap, grosgrain, or satin in fall hues)
- Mini pinecones, berries, or dried flowers (optional)
- Circle cutters (for pie toppers)
Instructions
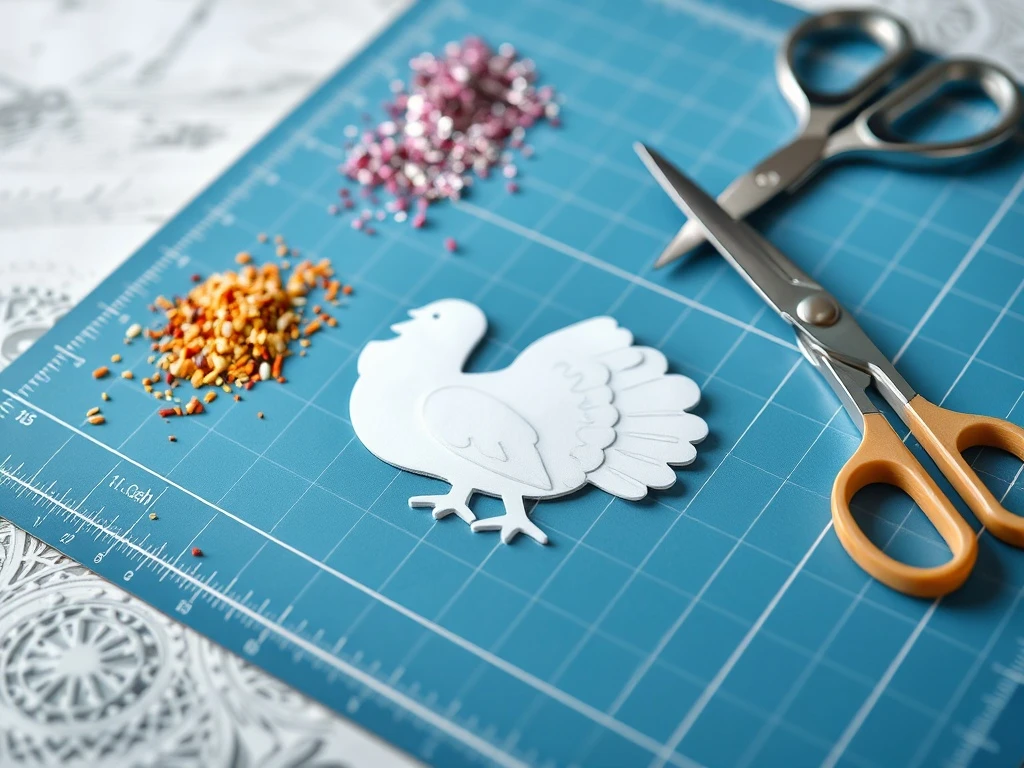
- Step 1: Cardstock Turkey Silhouette
Cut a turkey shape from brown or orange cardstock. Use a template or freehand a classic silhouette with a fan tail and rounded body. Add details like eyes and a beak with edible ink.
💡 Tip: For 3D effect, cut two identical shapes and glue them together with a gap for depth.
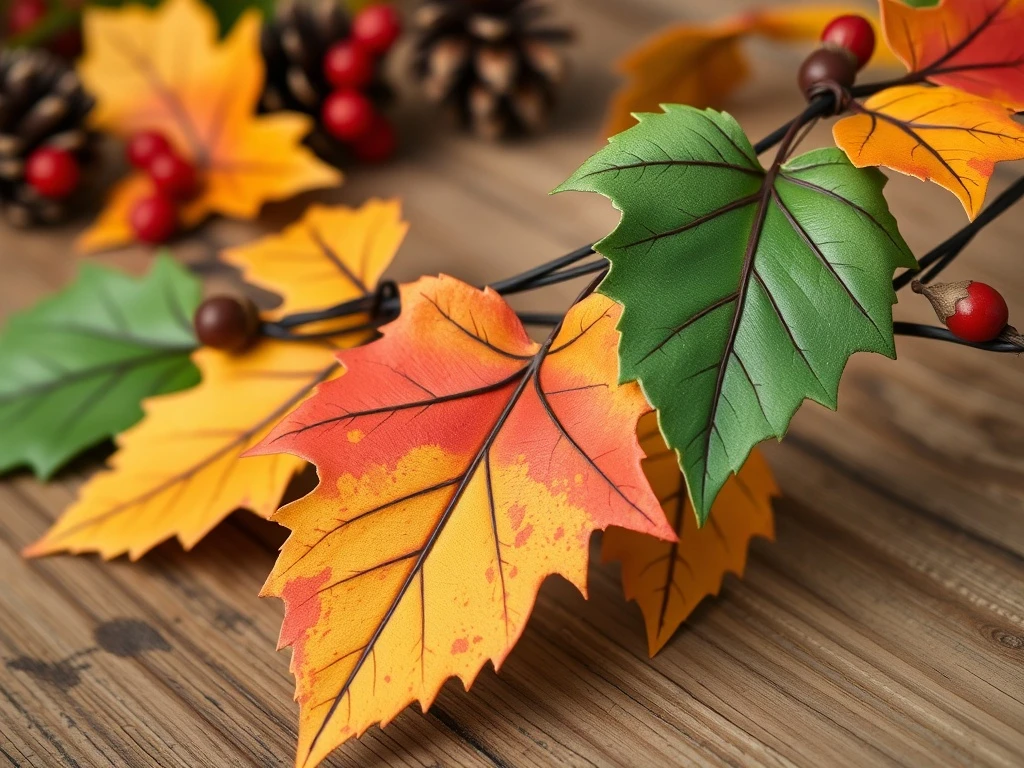
- Step 2: Autumn Leaf Garland
Die-cut or hand-cut maple leaves from red, orange, and yellow cardstock. Layer them in a gradient pattern and glue to a ribbon strand. Add berries or pinecones between leaves for texture.
💡 Tip: Use a leaf punch for uniform shapes—try a 3-pack for varied sizes.
- Step 3: Edible Glitter Turkeys
Paint small turkey shapes with edible glue and sprinkle with glitter while wet. Let dry completely before placing on cake.
💡 Tip: For non-edible options, use craft glue and food-safe glitter.
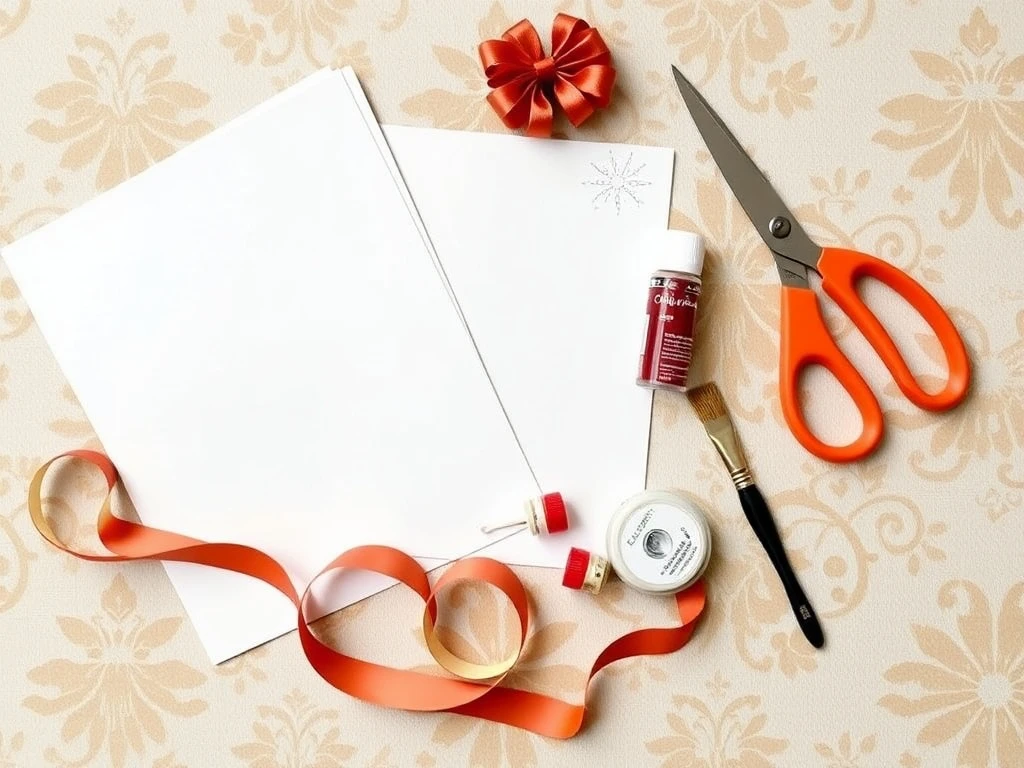
- Step 4: Ribbon Bow Centerpiece
Tie a large bow from grosgrain ribbon and attach to a skewer. Wrap the skewer in matching ribbon for a polished base. Add a small cardstock turkey or leaf cluster on top.
💡 Tip: Use a hot glue gun for secure attachment.
- Step 5: Hand-Painted Leaf Garlands
Paint real leaves with acrylic paint in fall colors. Let dry and glue to ribbon or wire. Drape around cake edges or use as standalone toppers.
💡 Tip: Press leaves flat between books for 24 hours before painting.
Thanksgiving Cake Topper DIYs
Festive, budget-friendly cake decorations for holiday bakers
🛒 Ingredients
- - 12x12" cardstock (brown, orange, red, green)
- - 1 tube edible glue or royal icing
- - 1 pack edible glitter (gold, copper, autumn)
- - 1 spool ribbon (fall colors)
👨🍳 Instructions
Cardstock Turkey: Cut turkey silhouette from brown/orange cardstock. Add eyes and beak with edible ink.
💡 Use a template for consistency across multiple toppers.
Autumn Leaf Garland: Die-cut maple leaves in gradient colors. Attach to ribbon strand with edible glue.
💡 Add berries or pinecones for texture.
Glitter Turkeys: Paint turkey shapes with edible glue and sprinkle glitter while wet.
💡 Let dry completely before placing on cake.
Ribbon Bow: Tie a large bow from grosgrain ribbon. Attach to skewer and add a turkey topper.
💡 Use hot glue for secure attachment.
Painted Leaves: Paint real leaves with acrylic paint. Glue to ribbon or wire for garlands.
💡 Press leaves flat before painting for best results.
Nutrition (per serving):
Ingredient Notes & Substitutions
Cardstock
Use heavyweight cardstock for durability. Substitute with craft foam or pressed cardboard for 3D effects.
Substitutions: Cereal boxes (cleaned), acrylic sheets
Edible Glitter
Choose food-safe glitter in autumn tones. Non-edible alternatives work for non-consumable displays.
Substitutions: Craft glitter (for decoration only), metallic paint
Ribbon
Grosgrain or satin ribbons add texture. Burlap or twine offer rustic charm.
Substitutions: Fabric scraps, lace, or even yarn
Acrylic Paint
Use non-toxic acrylics for leaf painting. Food-safe paints are optional for direct cake contact.
Substitutions: Fabric paint, markers, or even coffee for natural stains
Pro Tips for Perfect Thanksgiving Toppers
✂️ Cutting Techniques
Use a self-healing mat and sharp X-Acto knife for clean cuts. For beginners, try pre-made turkey templates.
🎨 Color Coordination
Match topper colors to your table linens. Try a monochromatic orange scheme or a bold red-and-green combo.
🌿 Natural Elements
Add real leaves or flowers for texture. Press and seal them with a clear acrylic spray to preserve.
✨ Edible Safety
Always use food-grade materials for toppers that will touch cake. Label non-edible decorations clearly.
Variations & Customizations
Thanksgiving Pilgrim Toppers
Replace turkeys with pilgrim hats or colonial-era hats made from felt or cardstock.
Miniature Harvest Scenes
Create tiny cornucopias or scarecrow faces using the same materials.
Modern Geometric Designs
Use patterned cardstock or metallic foil for contemporary, minimalist toppers.
Personalized Initials Toppers
Paint or stamp initials on small cardstock circles for a personalized touch.
Serving Suggestions & Pairings
🍽️ Best Served With:
- Classic pumpkin or apple pie with vanilla ice cream
- Spiced apple cider in mason jars
- Mini savory tarts with cranberry relish
- Autumn fruit platter with persimmons and pears
🍷 Drink Pairings:
Pair with a spiced chai latte or a rich red wine like Cabernet Sauvignon to complement the toppers' warm colors.
Make-Ahead Instructions & Storage
Make-Ahead Tips
Create toppers 3-5 days in advance. Store in airtight containers to prevent moisture damage. Glitter toppers should be made just before use to maintain sparkle.
Refrigerator Storage
Keep non-edible toppers in a cool, dry place. Edible items can be refrigerated for up to 3 days in sealed containers.
Freezer Storage
Not recommended for toppers with paper elements, which may absorb moisture. Freeze only non-porous materials like acrylic shapes.
Reheating Instructions
No reheating needed. Simply assemble toppers on cake just before serving to maintain structural integrity.
Troubleshooting & Common Questions
Q: My cardstock is fraying. How can I prevent this?
A: Use a scoring tool before cutting, or apply a thin layer of Mod Podge to the edges for a smooth finish.
Q: How do I make the glitter stick better?
A: Use a thicker layer of edible glue and apply glitter in multiple thin coats rather than one thick layer.
Q: Can I use these toppers for other holidays?
A: Yes! Change colors to match Christmas, Easter, or even Halloween themes. The leaf garlands work year-round.
Q: How do I attach toppers to a frosted cake?
A: Use a small dab of royal icing or cake decorator’s glue for secure adhesion. Let dry for 10 minutes before placing.
Final Thoughts
These DIY toppers prove that beautiful cake decorations don’t require a trip to the craft store. With just a few supplies, you can create personalized, festive accents that elevate any Thanksgiving dessert. The best part? You’ll save money while adding a handmade touch that guests will adore. Try mixing and matching the five designs to create a cohesive look that reflects your holiday style. Whether you’re a beginner or a seasoned decorator, these projects are sure to impress at your next gathering. Happy baking!
For best Pinterest visibility, post this DIY pin as part of a complete meal series over 5-7 days: anchor main dish first, followed by complementary sides, finishing with a dessert completion pin.