A fun holiday craft that doubles as a tasty treat!
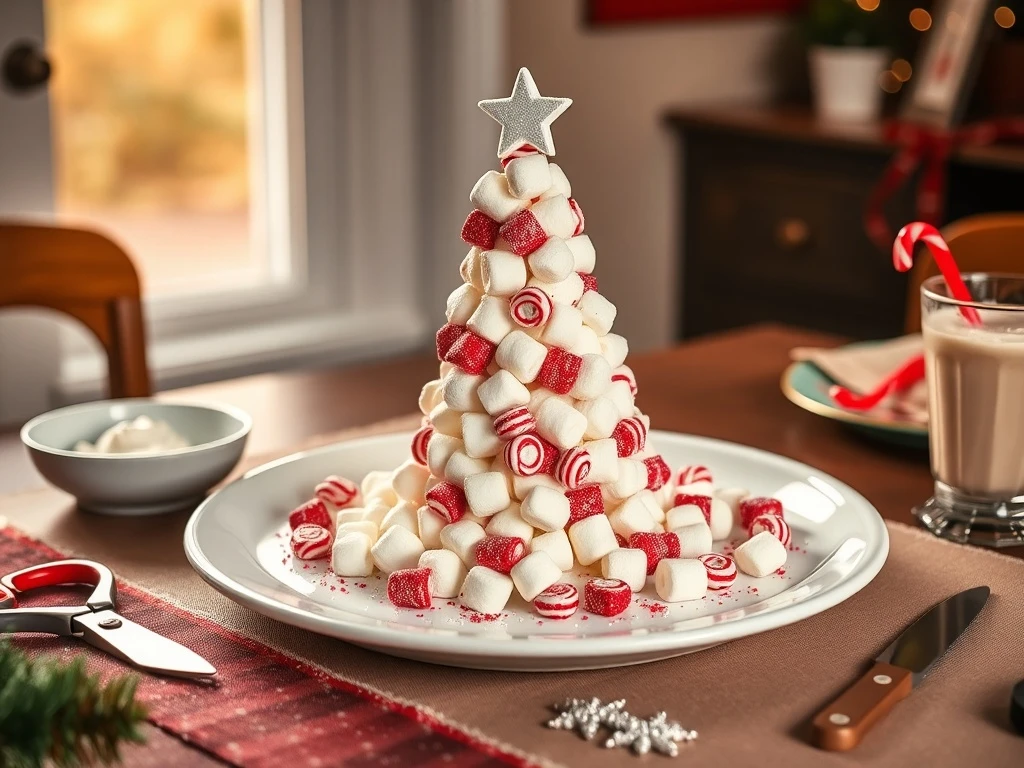
This DIY candy Christmas tree is more than just a snack—it's a creative holiday activity that sparks joy in kids and adults alike. With just a few simple ingredients, you'll craft a festive edible tree that's perfect for family bonding or classroom fun.
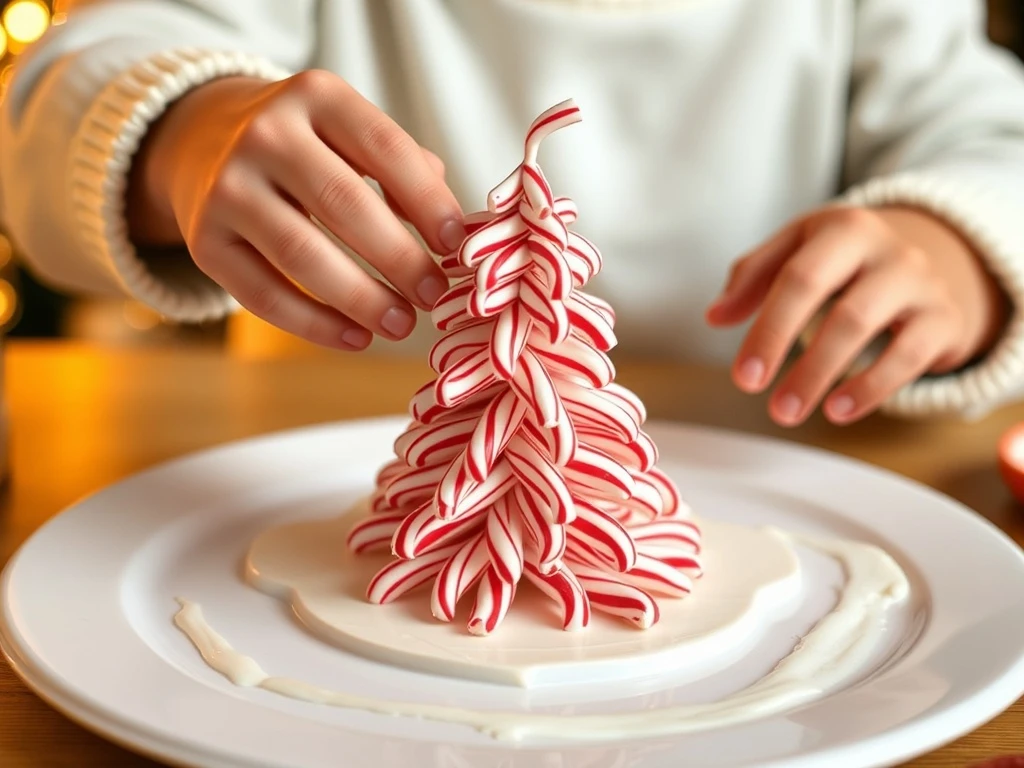
Transform ordinary candy into a magical Christmas tree with this easy step-by-step guide. Whether you're looking for a holiday craft or a sweet treat, this project is sure to delight.
Perfect for ages 3-12, this activity encourages creativity while teaching kids about shapes, colors, and food safety. Plus, the finished tree pairs beautifully with hot cocoa or milkshakes for a complete festive experience.
Let your little ones take the lead while you guide them through the process. The result? A colorful edible masterpiece that's as fun to make as it is to eat.
Why This Recipe Works
Educational & Fun
Teaches kids about colors, shapes, and food safety while fostering creativity.
Quick & Easy
Ready in 15 minutes with no baking required—perfect for last-minute holiday fun.
Family Bonding
Ideal for family crafting sessions or classroom activities with minimal cleanup.
Festive Presentation
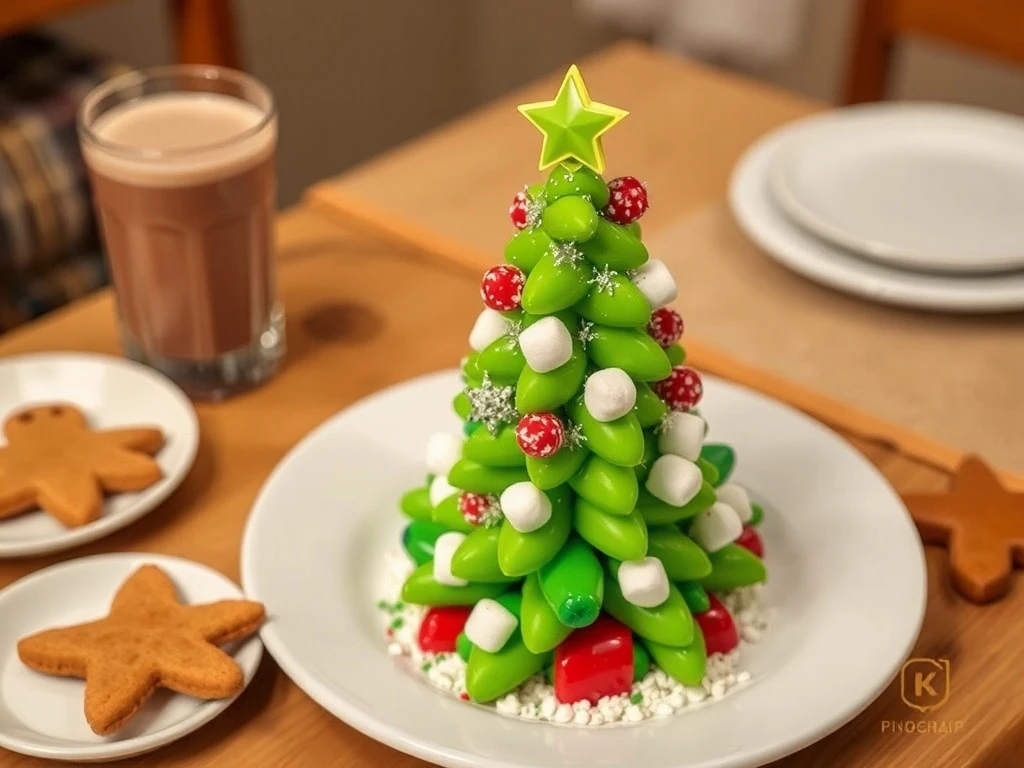
Creates a stunning edible centerpiece that doubles as a tasty holiday treat.
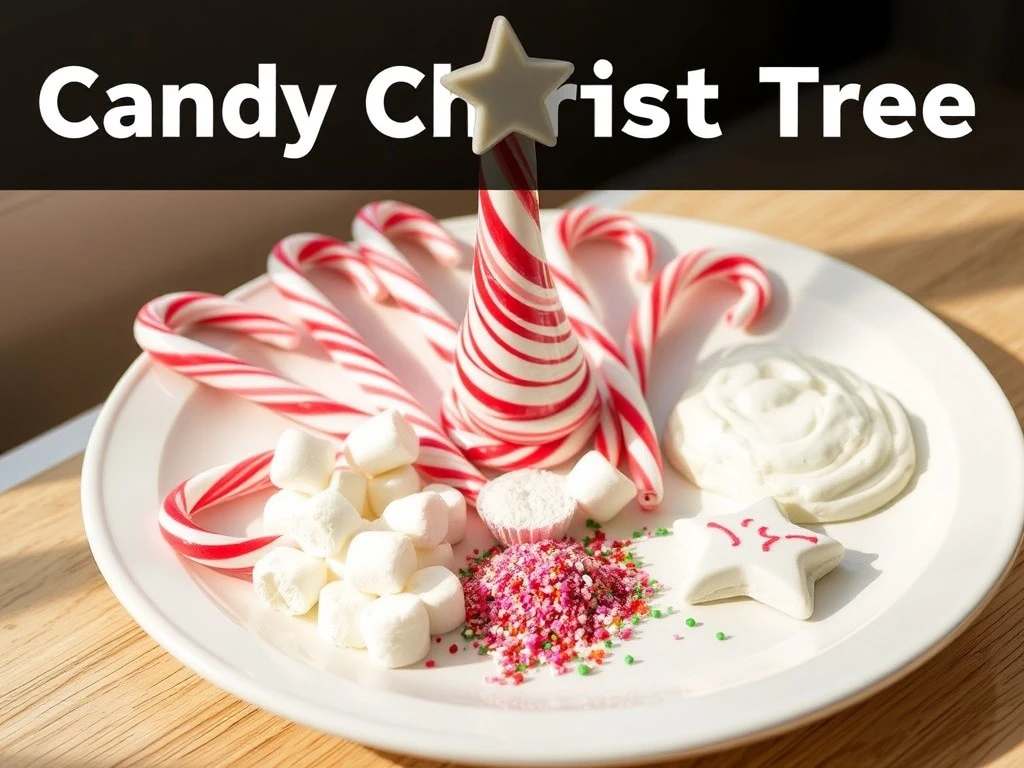
Ingredient Notes & Substitutions
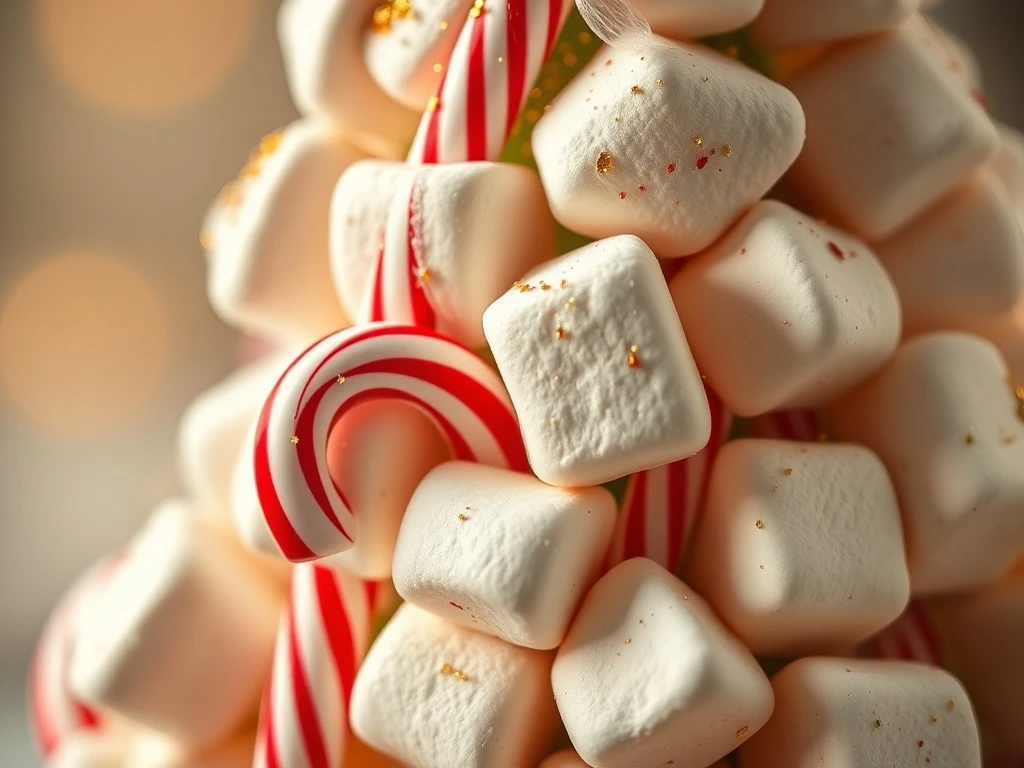
Candy Canes
Provide the tree's structure and festive colors. Use red for the trunk and green for the branches.
Substitutions: Red and green licorice or pretzel sticks.
Mini Marshmallows
Represent snow and add texture to the tree. Choose mini for easier handling by kids.
Substitutions: Small marshmallows or fondant snowflakes.
Icing
Acts as adhesive and adds a glossy finish. White icing works best for a snowy look.
Substitutions: Royal icing or melted chocolate.
Edible Glitter
Adds festive sparkle. Optional for a more elegant look.
Substitutions: Non-edible glitter (for display only).
Pro Tips for Perfect Candy Trees
Color Coordination
Use red candy canes for the trunk and green for the branches to mimic a real tree.
Kid-Friendly Tools
Provide child-sized scissors and spoons for easier handling and safety.
Make-Ahead Tip
Assemble the candy canes first and store them in an airtight container until ready to decorate.
Presentation Ideas
Serve with hot cocoa or milkshakes for a complete festive treat.
Variations & Customizations
Themed Trees
Create holiday themes with candy canes shaped like snowflakes, stars, or reindeer.
Mini Trees
Use smaller candy canes and mini marshmallows for bite-sized versions.
Non-Edible Decorations
Add non-edible glitter or bows for a more elaborate display.
Seasonal Twists
Use orange candy canes for a fall harvest tree or pastel colors for Easter.
Serving Suggestions & Pairings
🍽️ Best Served With:
- Hot cocoa with marshmallow toppings
- Vanilla milkshakes in festive cups
- Mini gingerbread cookies
🍷 Drink Pairings:
Serve with spiced chai or peppermint hot chocolate for a cozy holiday feel.

Make-Ahead Instructions & Storage
Make-Ahead Tips
Assemble the candy canes and store in an airtight container for up to 24 hours before adding decorations.
Refrigerator Storage
Store finished trees in the fridge for up to 2 days in an airtight container.
Freezer Storage
Freeze undecorated trees for up to 1 month. Thaw in the fridge before decorating.
Reheating Instructions
Not applicable—no reheating needed. Store at room temperature after decorating.
Troubleshooting & Common Questions
Q: How to prevent the tree from collapsing?
A: Use a sturdy base like a white platter and ensure candy canes are securely glued with icing.
Q: Can I use store-bought candy trees?
A: Yes! Simply add your own edible glitter and decorations for a personalized touch.
Q: How to handle sticky icing?
A: Keep hands dry and work quickly to avoid smudging decorations.
Q: Can this be made gluten-free?
A: Use gluten-free candy canes and icing to accommodate dietary restrictions.
Final Thoughts
This DIY candy Christmas tree is more than just a treat—it's a joyful holiday tradition that brings families and classrooms together. The combination of creativity, learning, and sweet rewards makes it a must-try activity for the season.
Whether you're celebrating with kids or adding a festive touch to your holiday table, this project promises sweet memories and a dazzling edible masterpiece. Gather your materials, let your imagination shine, and enjoy the magic of crafting together!